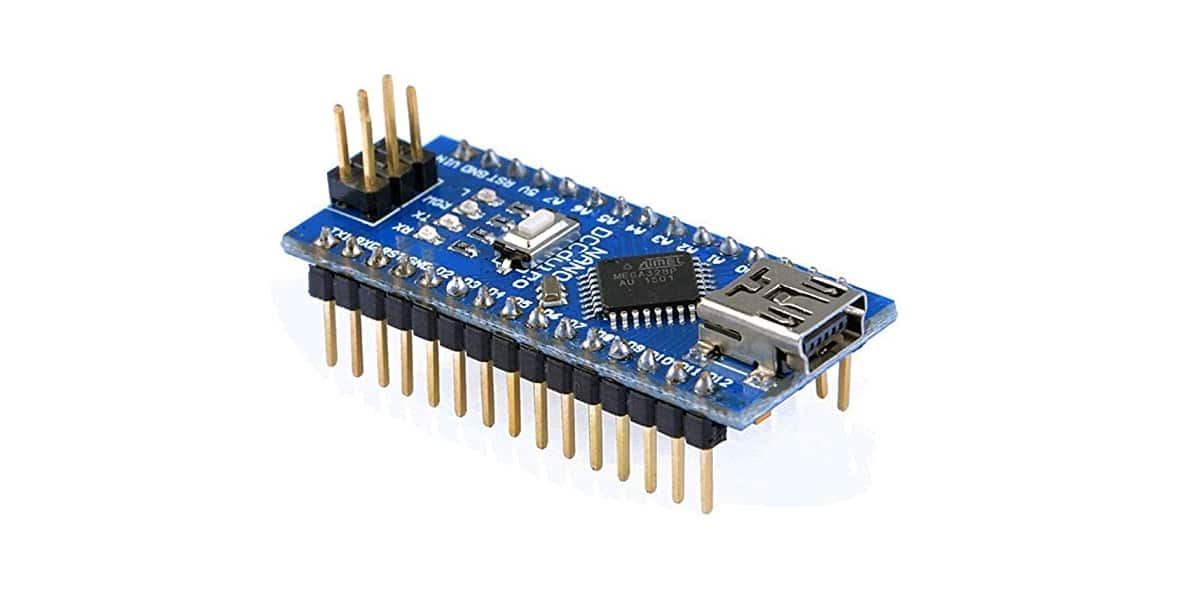
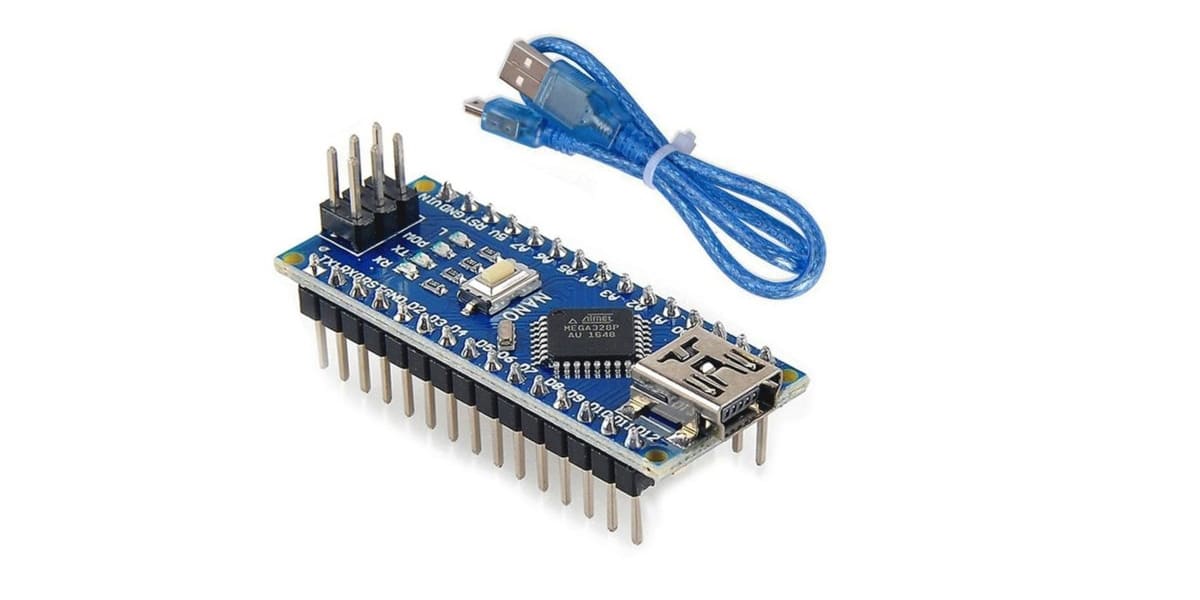
Arduino Nano It is another of the versions in which you can find the famous Arduino development board. It is small, but don't be fooled by its size, it hides a lot of possibilities. It's like a real Swiss army knife. With it you can create a multitude of projects in which it is important to keep consumption and size at bay.
Like all Arduino and compatible boards, it has similarities with other of its older sisters, although it also has certain unique and different technical characteristics from the others. In this article you will see all those similarities and differences to understand everything you need to know about this board and start developing your own DIY projects with Arduino Nano.
What is Arduino Nano?

Arduino It is already a classic in the world of hardware libre and the maker world. With its development and software beaches you can create a multitude of projects where the limit is your imagination and well... some technical limitations of course. But they allow you to learn electronics, programming and also create real wonders.
Even professional projects are based on these development boards. In the case of Arduino Nano, it is a reduced version de Arduino UNO. This minimizes the energy demand you consume and also means less space is needed to house the bale, making it ideal for projects where size is important.
This is not a plate Arduino UNO miniaturized exactly, as you will see there are some important technical differences. Nor is it an alternative to Lilypad. But it shares other characteristics and the essence that is present in all Arduino projects. Of course, it can be programmed with the same Arduino IDE like the rest.
Technical characteristics
The Arduino Nano board has some technical characteristics that you should know before starting with it, in addition to evaluate if it is what you need for your project or does not meet your expectations.
Those technical characteristics are:
- It is a small, flexible and easy-to-use microcontroller board.
- It is based on the Atmel ATmega328p microcontroller or MCU in versions 3.x and in ATmega168 in previous versions. In any case, it works at a frequency of 16 Mhz.
- The memory consists of 16 KB or 32 KB flash depending on the version (2 KB used for the bootloader), with 1 or 2 KB of SRAM memory and a 512 byte or 1 KB EEPROM depending on the MCU.
- It has a supply voltage of 5v, but the input voltage can vary from 7 to 12v.
- It has 14 digital pins, 8 analog pins, 2 reset pins and 6 power pins (Vcc and GND). Of the analog and digital pins, they are assigned several extra functions such as pinMode () and digitalWrite () and analogRead () for analogs. In the case of analogs, they allow a 10-bit resolution from 0 to 5v. On digitals, 22 can be used as outputs PWM.
- It does not include a direct current socket.
- It uses a standard miniUSB for its connection with the computer to program or power it.
- Its power consumption is 19mA.
- The PCB size is 18x45mm with a weight of only 7 grams.
Pinout and datasheet
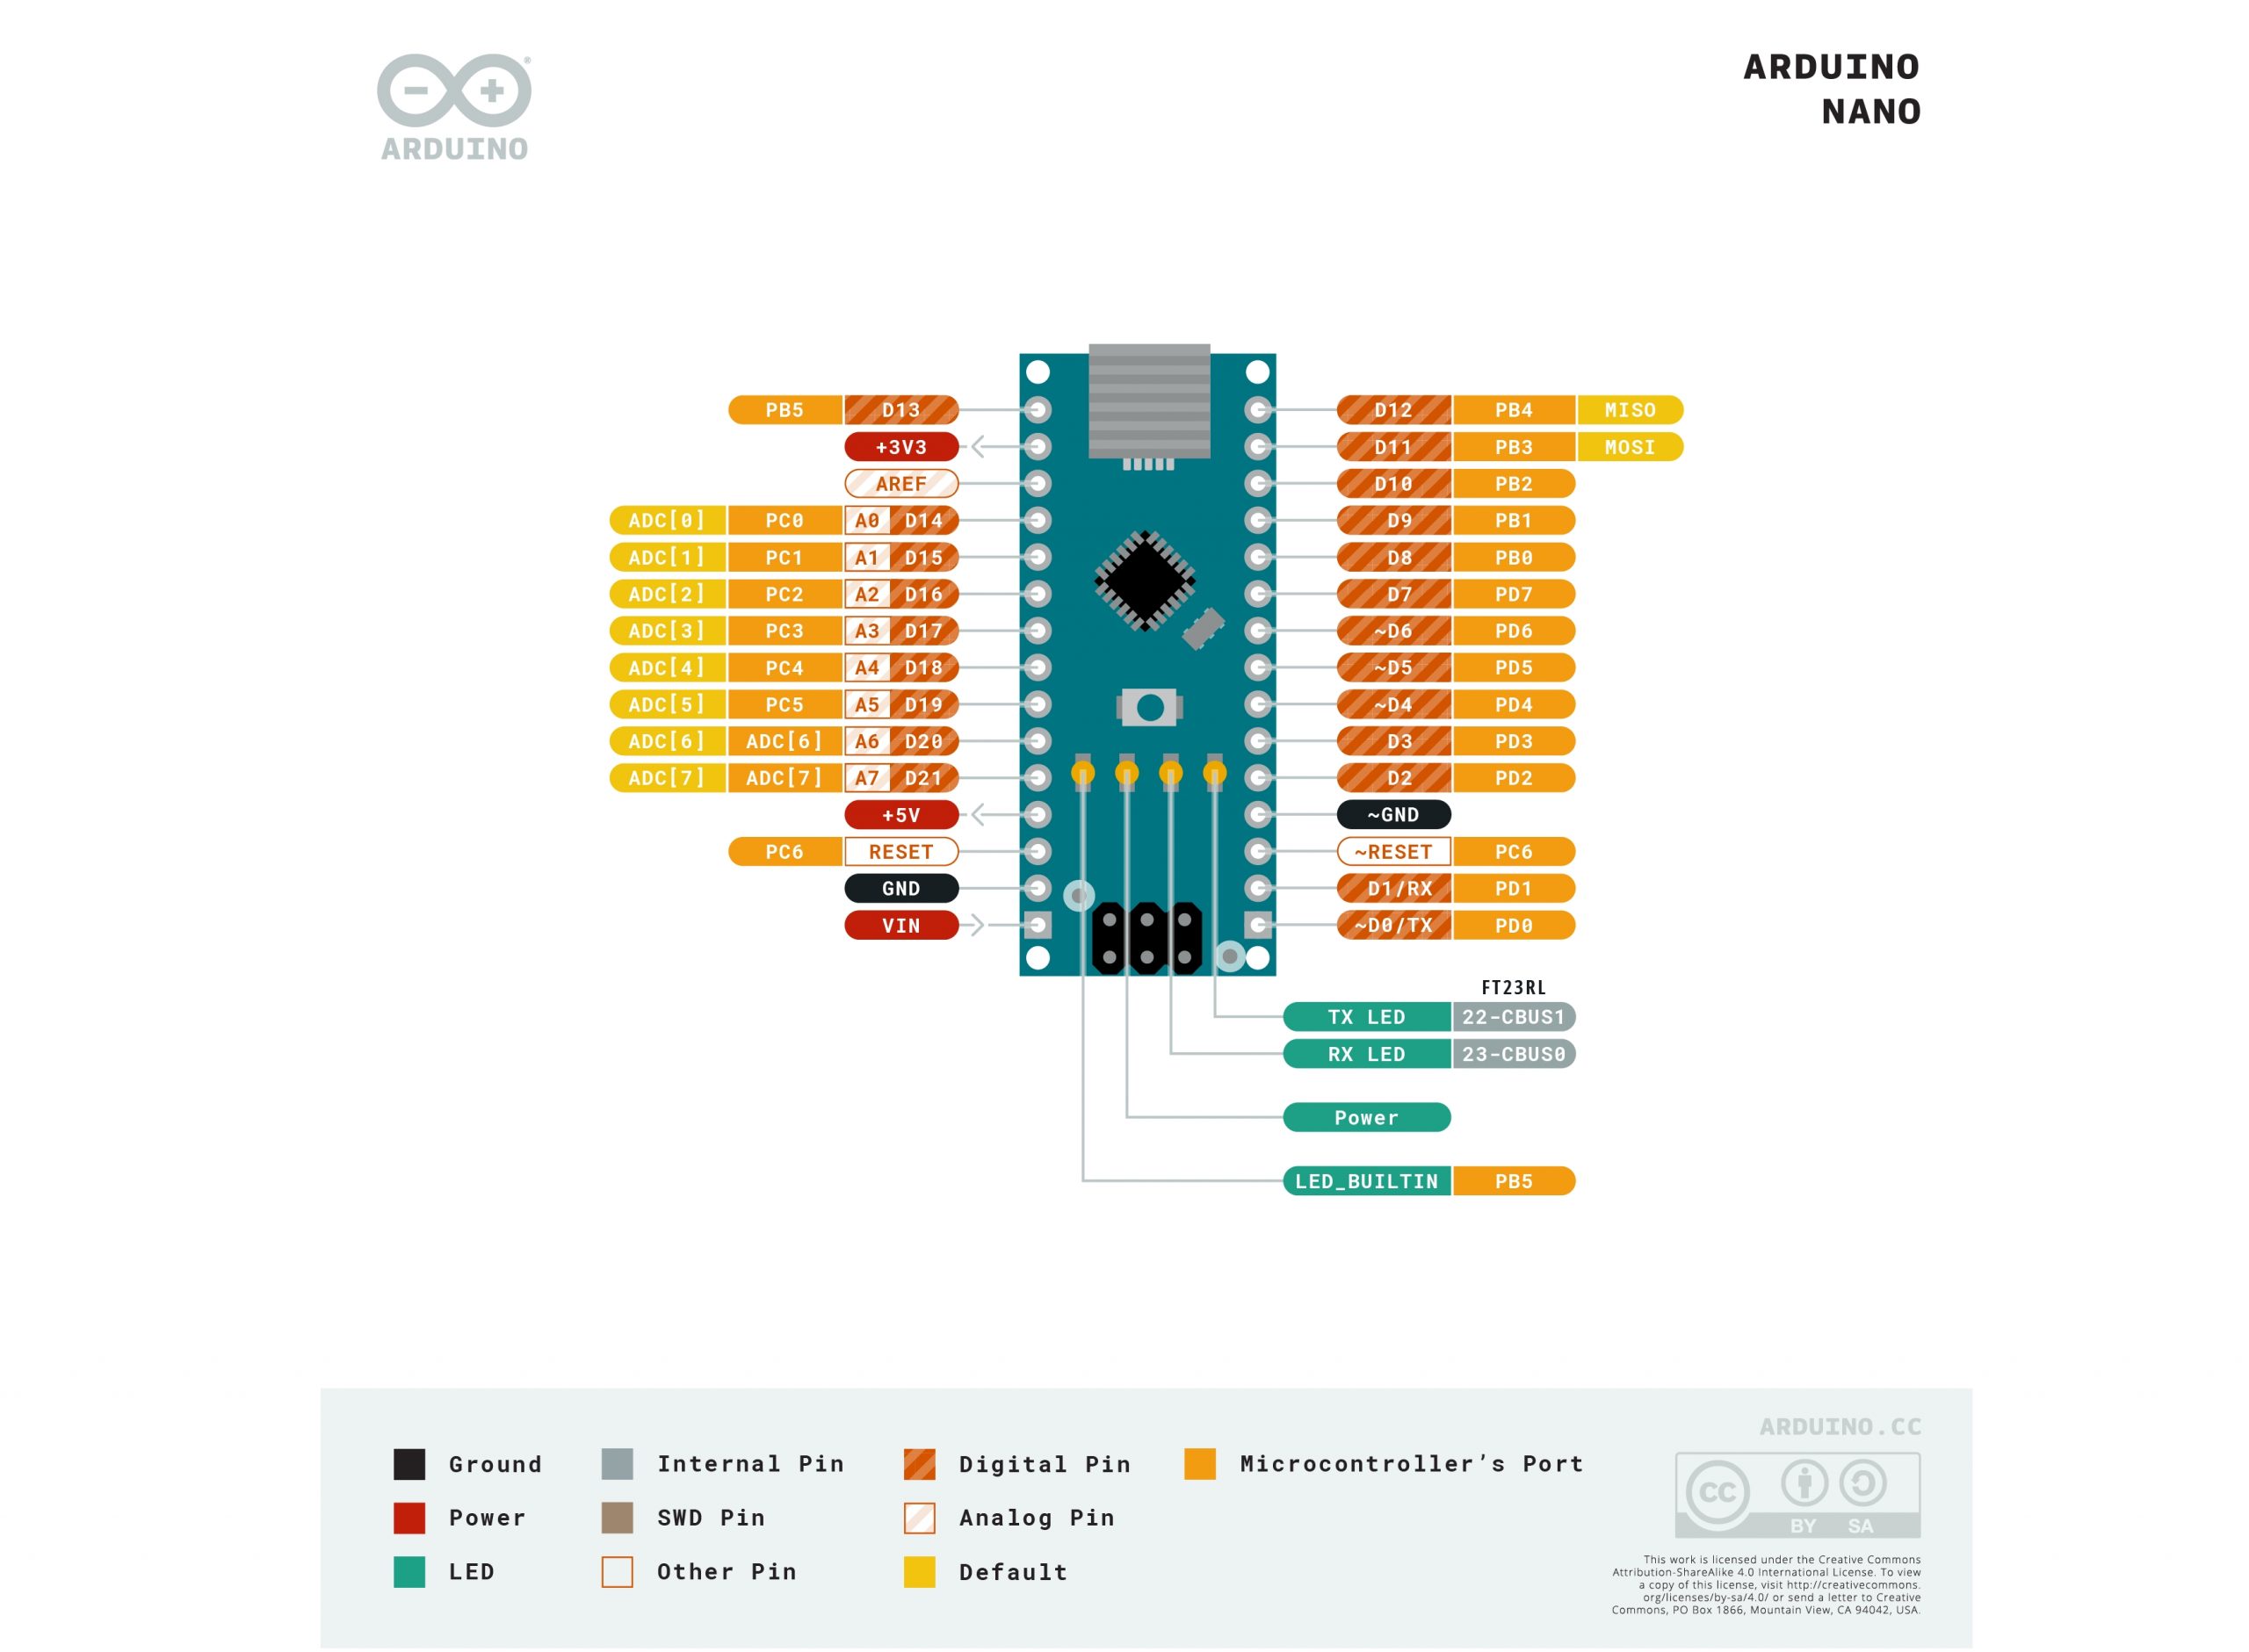
In this image courtesy of Arduino you can see the pinout or the predisposition of pins and connections that you can find on this development board. As you can see, Arduino Nano does not have as many I / O pins as its sisters, but it does have a considerable amount for most projects.
If you want to see more details, you can access the datasheets that exist for this Arduino Nano version:
Differences with other Arduino Mini and Micro boards
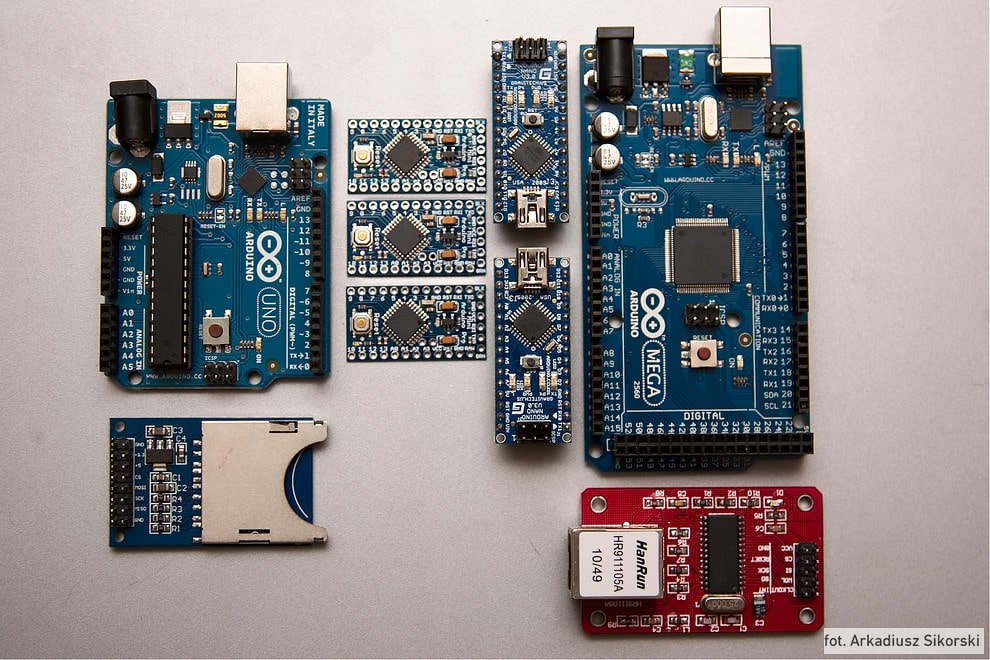
Within the official Arduinos You can find those versions that we have been talking about in this blog, such as UNO, Mega, etc. One more is this Arduino Nano, which has the following differences that you have seen in the previous sections.
However, to do a summary of the most outstanding, these are the most important with respect to the other official reduced size plates:
- It was designed with the same goal as the Arduino Mini, only the Nano has a miniUSB port to program it and feed it with energy.
- Su price it is between the Arduino Mini and the Arduino Micro.
- The rest of the characteristics can be seen in the following table:
| Features |
Arduino mini |
Arduino Micro |
Arduino Nano |
| Microcontroller |
Atmega328P |
ATmega32U4 |
ATmega168 / ATmega328P |
| Operating voltage |
5 V |
5 V |
5 V |
| Supply voltage |
7 9-V |
7 12-V |
7 9-V |
| Operating frequency |
16 MHz |
16 MHz |
16 MHz |
| Analog inputs / outputs |
8/0 |
12/0 |
8/0 |
| Digital inputs / outputs |
14/14 |
20/20 |
14/14 |
| PWM |
6 |
7 |
6 |
| EEPROM (KB) |
1 |
1 |
0.512 / 0 |
| SRAM (kB) |
2 |
2.5 |
1 / 2 |
| Flash (KB) |
32 |
32 |
16 / 32 |
| Main power and programming port |
Via FTDI card or cable |
microUSB |
miniUSB |
| UART |
1 |
1 |
1 |
| Dimensions |
3x1.8 inch | 4.8x1.77 inch | 4.5x1.8 inch |
Compatibility
The Arduino Nano board is compatible with all kinds of electronic components like the rest of the plates. There is no limitation of any kind beyond the maximum current and voltage limitations it supports. But otherwise, you can use any component you want from all seen in HwLibre.
Get started with Arduino Nano
Like I said, you can use the same software to program and get started with this development board. Therefore, Arduino Nano can be used with the same software Arduino IDE which is used for the rest of the plates. You already know that this software is quite flexible and even allows you to use other different development boards that are not Arduino ...
To start with an example of how to program Arduino Nano, you can use the following electronic scheme to connect a simple LCD screen and be able to display a message on this plate:
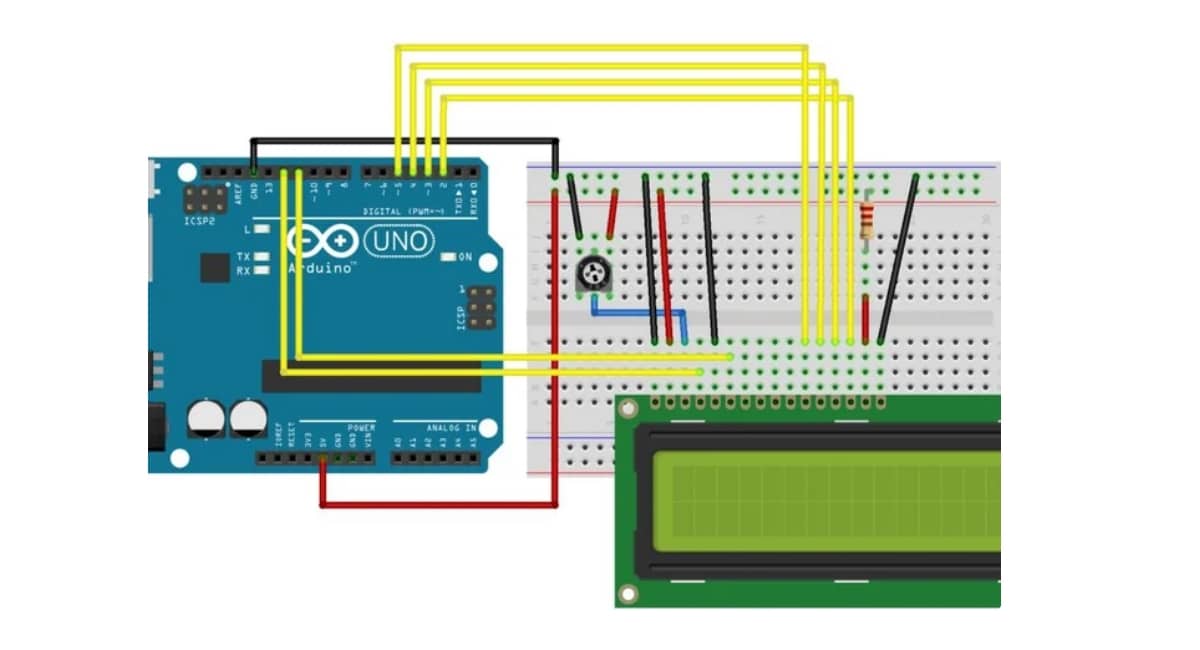
Although the plate that appears in this drawing with Fritzing is ONE, it is the same for Nano, you just have to connect it to the corresponding pins ... That is, you can connect the following:
- RS LCD to Nano pin D12.
- LCD Enable to D11 from Nano.
- Nano D4 to D5 LCD.
- Nano D5 to D4 LCD.
- Nano D6 to D3 LCD.
- Nano D7 to D2 LCD.
- LCD VO at 5v power supply. In this line you must put the 10k resistor that appears in the image.
- On the other hand, you also have to connect GND of the LCD to a GND of the board.
- You already know that LCD pins 15 and 16 are to change the brightness of the screen and go with a potentiometer to regulate.
As to sketch code, you can use the following example to start seeing how it works. Remember to use the LiquidCrystal library for LCD screens. You can see more information in our free Arduino programming course.
#include <LiquidCrystal.h> //No olvides descargar la biblioteca

LiquidCrystal lcd(12, 11, 5, 4, 3, 2);

void setup() {

//Configurar el número de columnas y filas del LCD

lcd.begin(16, 2);

//Imprimir mensaje en la LCD

lcd.print("¡HOLA MUNDO!");
}

void loop() {

//Poner el cursor en la columna 0, línea 1

lcd.setCursor(0, 1);

//Imprimir el número de segundos desde reset

lcd.setCursor(0, 1);
lcd.print(millis() / 1000);

}
Good info, from the Arduino Nano.
regards