If you want to use a servo motor, or servo, with Arduino, in this article you will learn what you need to get started. We have already seen in other articles what is necessary to use electric motors, stepper motors, and also other concepts necessary to understand the operation of this type of device, such as the article on PWM.
Now, you can add another new electronic component to the device list analyzed and that you can go integrating your DIY projects to add new functionality.
What is a servo?
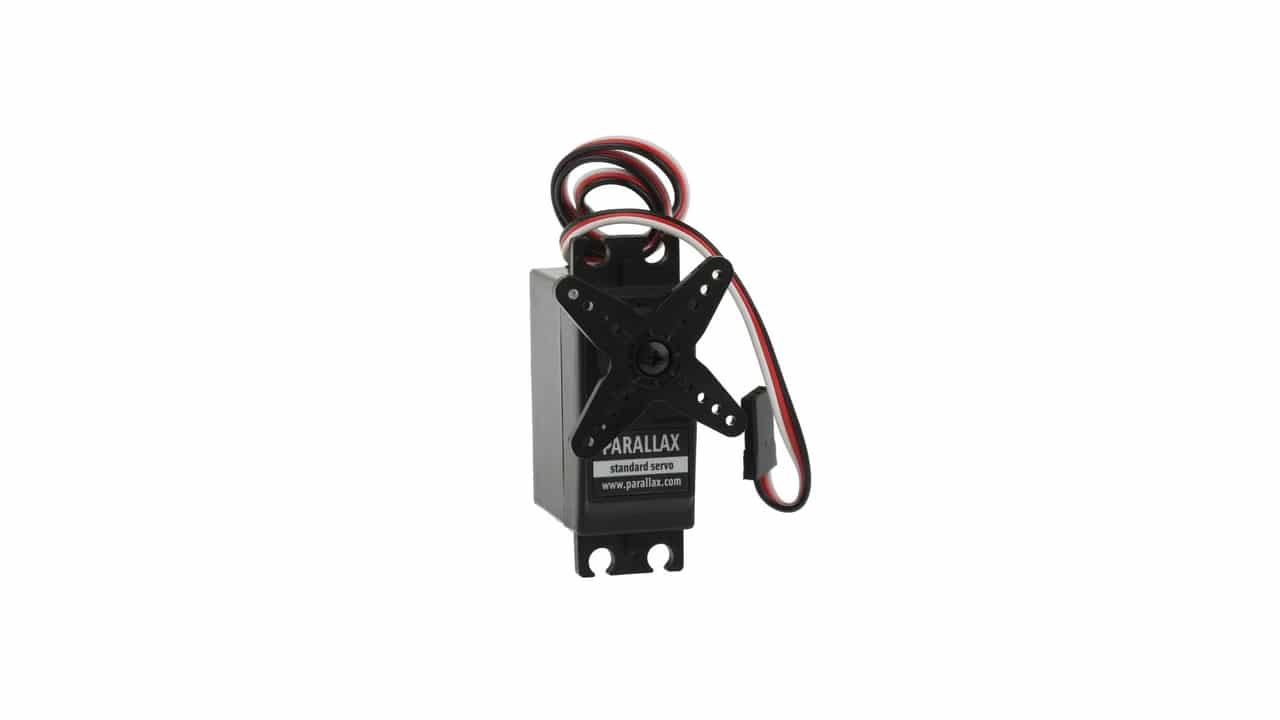
Un servo-motor, or simply servo, is an electronic motor with similarities to conventional DC motors, but with some elements that make them special. In this case, it has the ability to hold a position that is indicated, something that electric motors do not allow.
On the other hand, the servo can also precisely control the speed of rotation, thanks to a series of internal gears and a system that allows a much better control than could be done in other types of motors.
These features make it especially interesting for applications robotics, or for other devices where it is necessary to control movement and position, such as a printer, or a remote-controlled car. In this type of radio-controlled car there is a conventional motor to drive the car, and a servo for the steering, with which to control the turn precisely.
Difference between stepper motor and servo motor
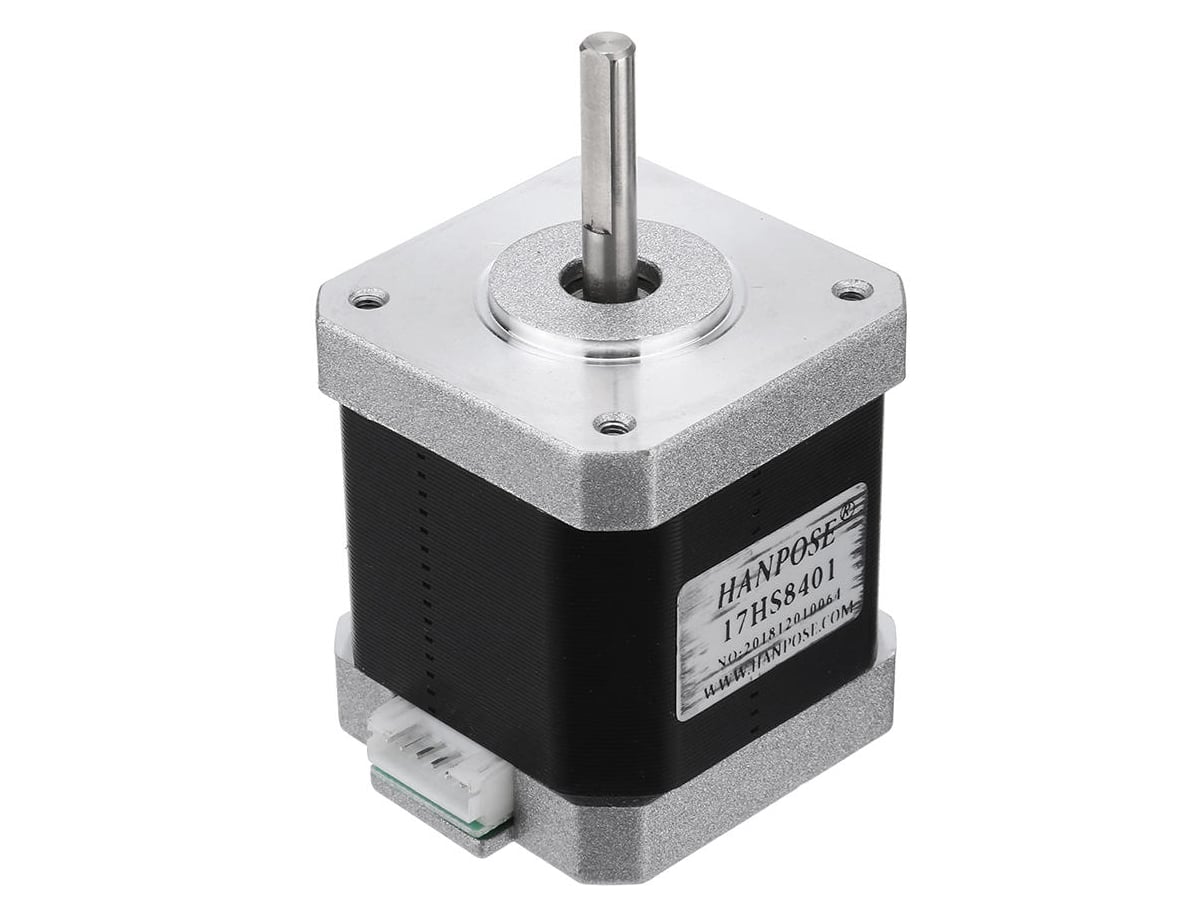
If you wonder the difference between a servo motor and a stepper motor, the truth is that they can be confused, since in the stepper motor, or stepper, the rotation can also be controlled quite precisely, and the applications are very similar to the servo. Instead, there are some differences.
And it is that the servomotors typically use rare earth magnets, while stepper motors use cheaper and more conventional magnets. Therefore, a servo can achieve a higher torque development, despite remaining compact. Therefore, the turning force will be very high.
Technical characteristics
Whenever you buy a servo, you should consult its technical sheet or datasheet. That way, you will ensure the technical characteristics it has, but also the limits to which you can subject it, such as voltage, intensity, maximum load, torque, etc. Remember that each model can be quite different.
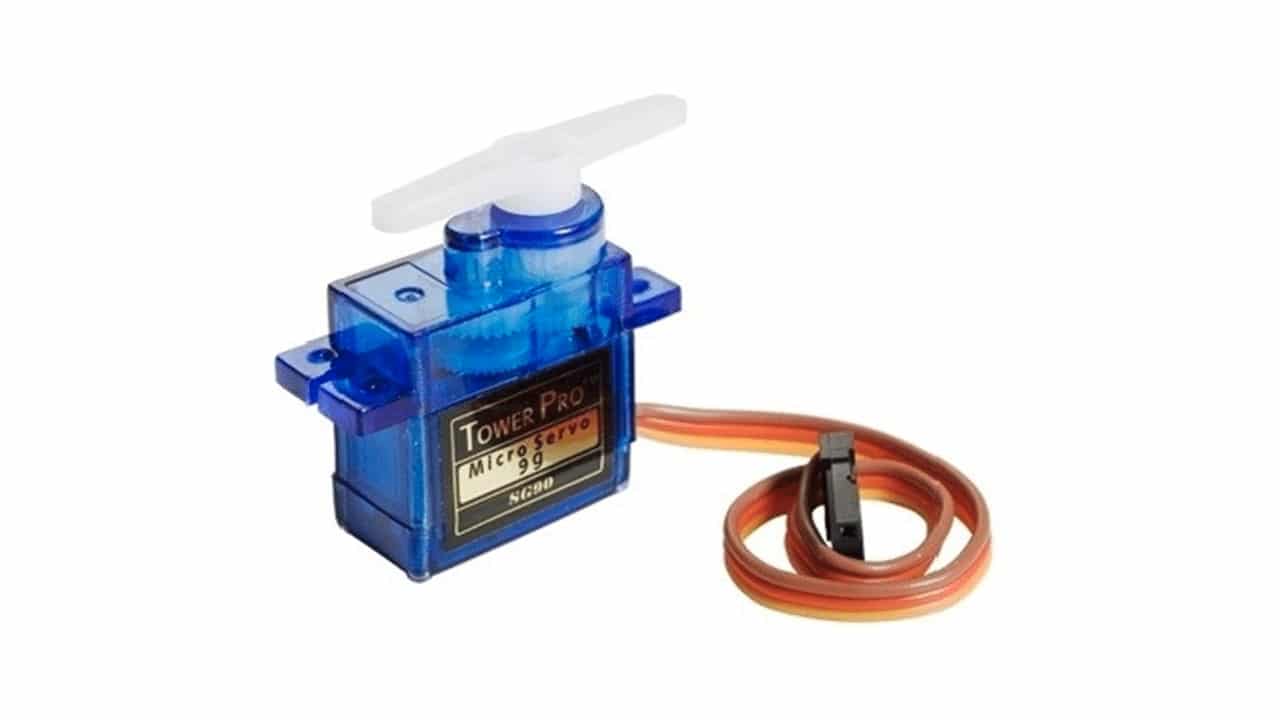
For example, if you look at one of the most popular, the Micro Servo 9G SG90 from the well-known Tower Pro firm, then you will have some very peculiar characteristics, although the programming and connection of the models are more or less the same and everything said here is useful for anyone.
In the case of this model, it is a high quality motor, with a turning angle that allows a sweep between -90 and 90º, that is to say, a total turn of 180º. The resolution that you can achieve is very high, so you will be able to advance very little by little. For example, with the PWM signal limitations of Arduino UNO, you could even get an advance from grade to grade.
Likewise, the PWM signal will also impose another limit, and it is the number of times each position can change per unit of time. For example, since the pulses work with between 1 and 2 ms and with 20 ms periods (50Hz), then the servo can move once every 20 ms.
In addition, it will have a weight of 9 grams and, despite that weight and compact size, it can develop a torque or torque of 1.8 kg / cm with 4.8v. That's thanks to its POM gear set.
Finally, you already know that, depending on what you want to achieve, you must choose one or another model, so that it has the features needed for your project. That is, it is not the same that you want a motor to move a load X, than one for XX ...
Where to buy a servo
If you want to start using this type of servomotor, you can find it cheap in many specialized stores, and you can also get it online at Amazon. For example, here are some examples of recommended products that may interest you:
-
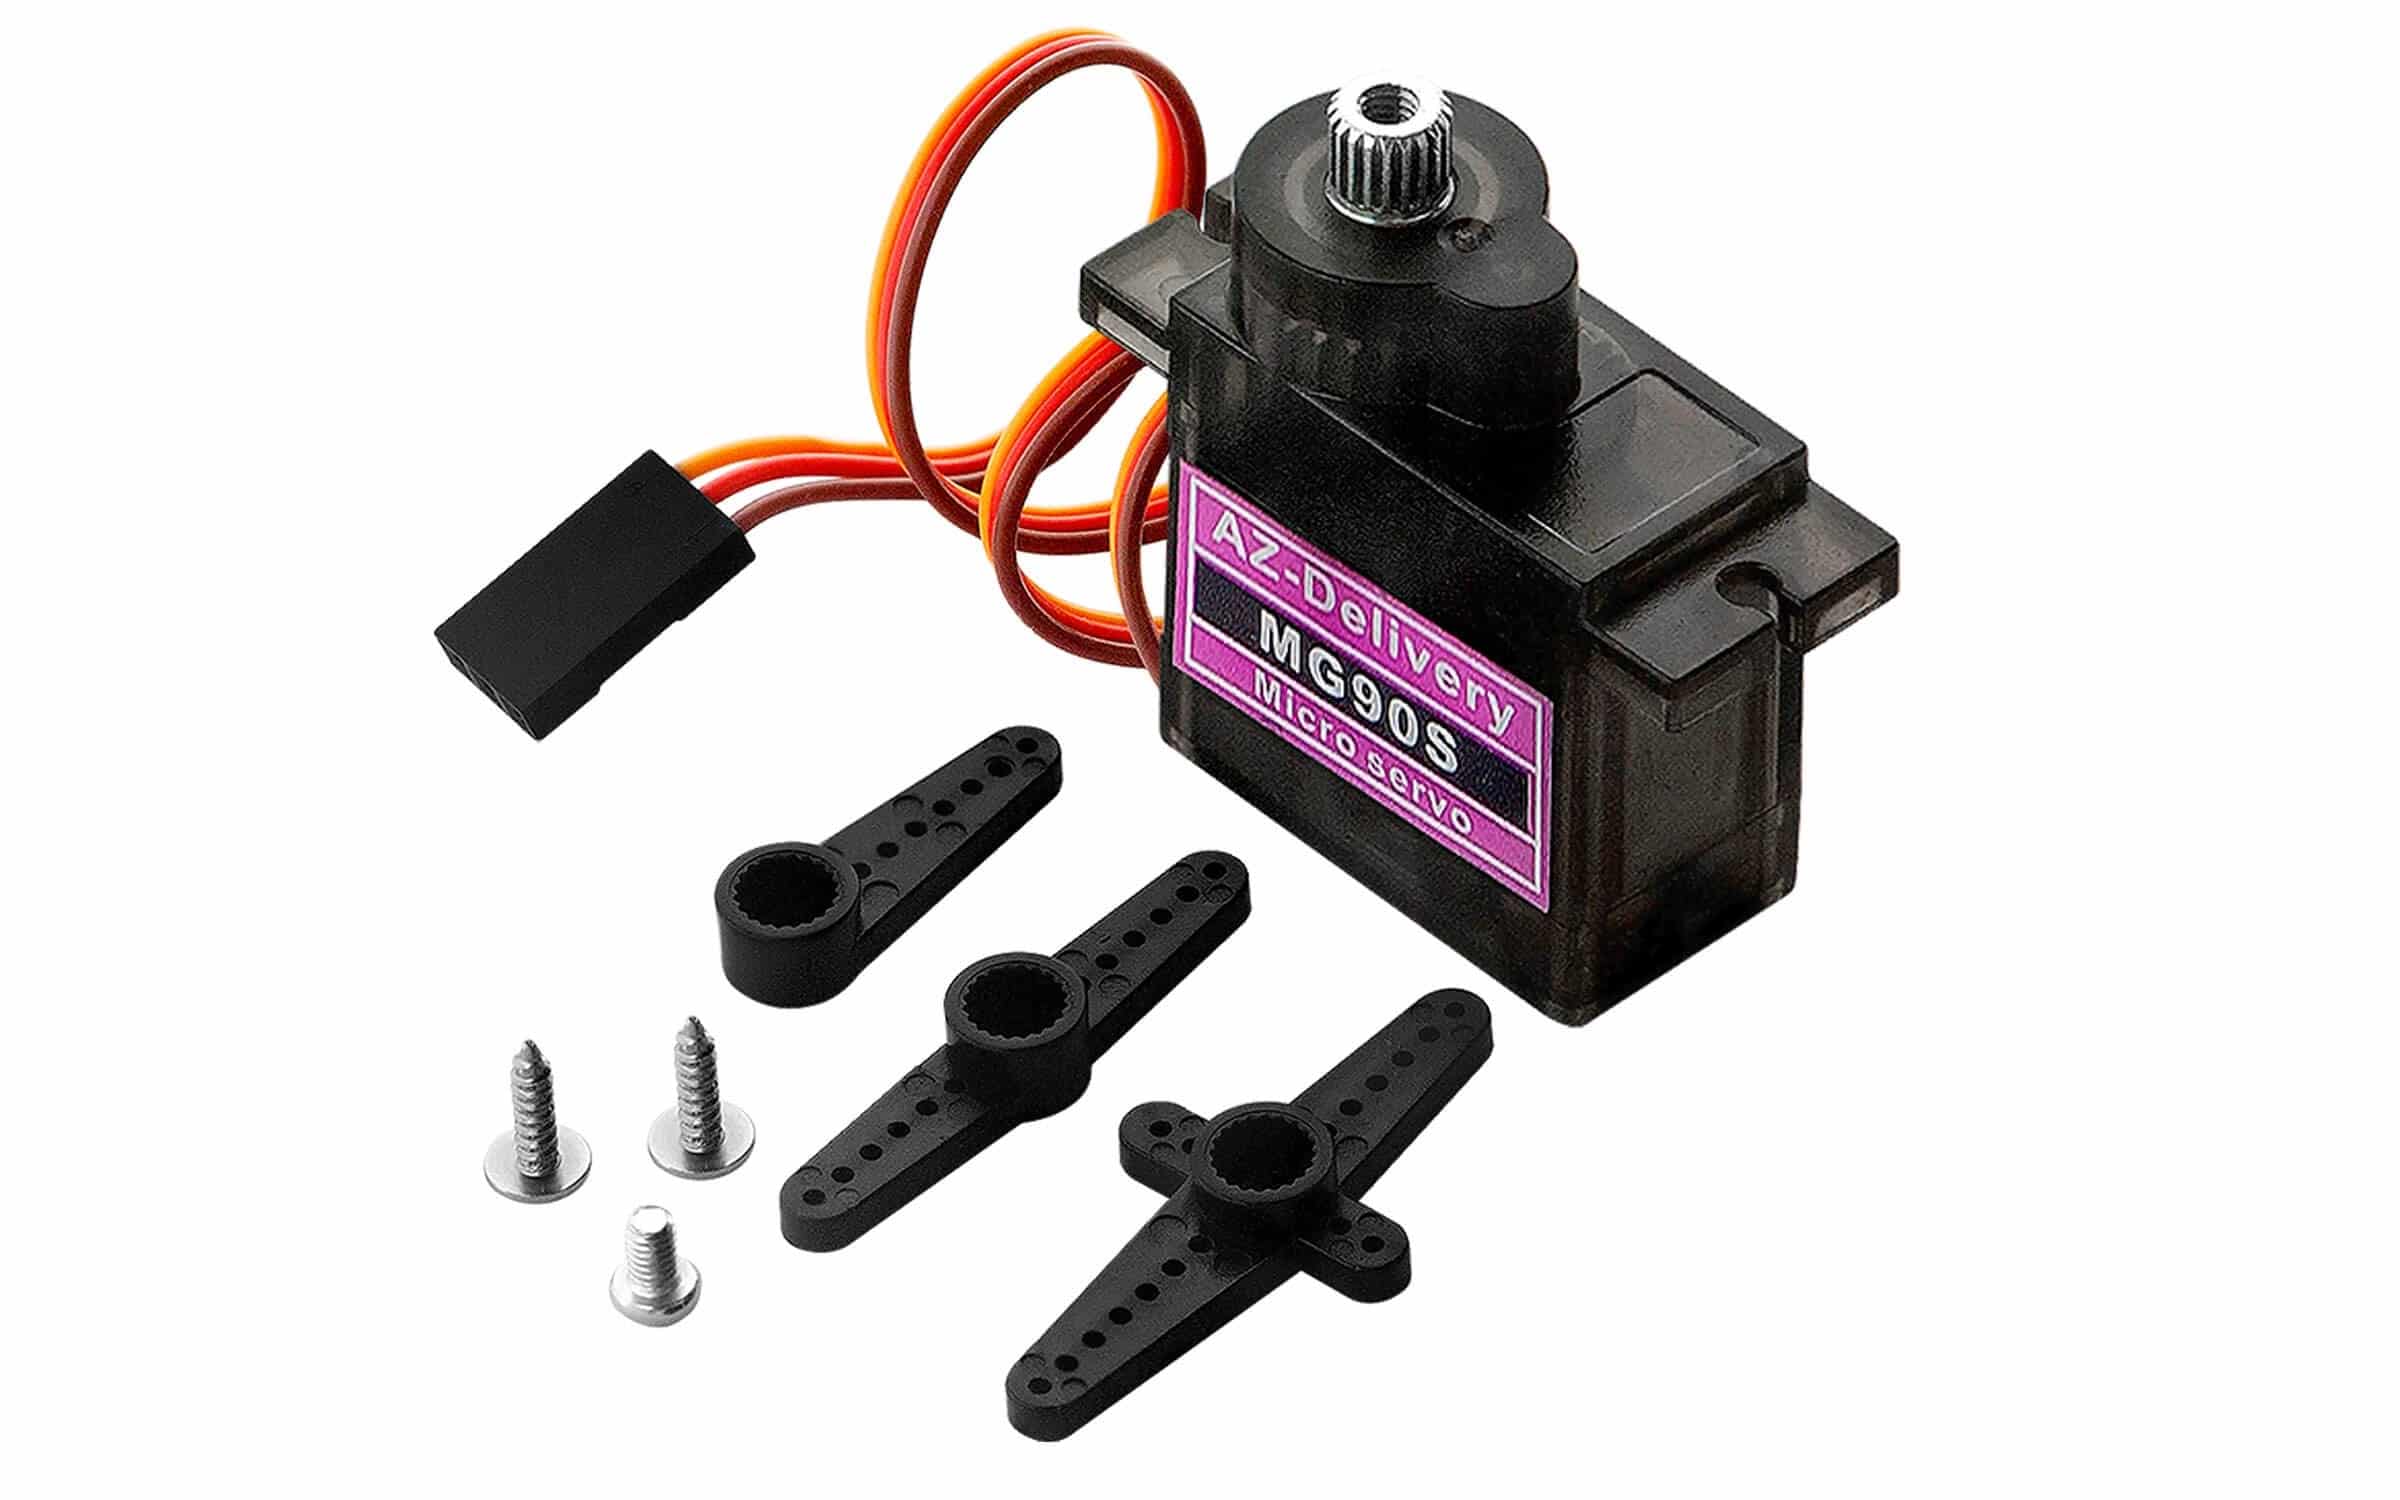
AZDelivery Servo MG90S Micro: supports up to 13.4 kg.
- Innovateking-EU: with up to 25 kg / cm.
- Innovateking-EU: another waterproof model, and with up to 35kg / cm.
They all have a pretty good turning angle, but it basically differs in the torque that each one can tolerate. I have included three different models. The former, and cheaper, may be sufficient for most applications. But if you need one with greater strength for other applications, you have the 25 and 35, which are already quite remarkable ...
Integration with Arduino
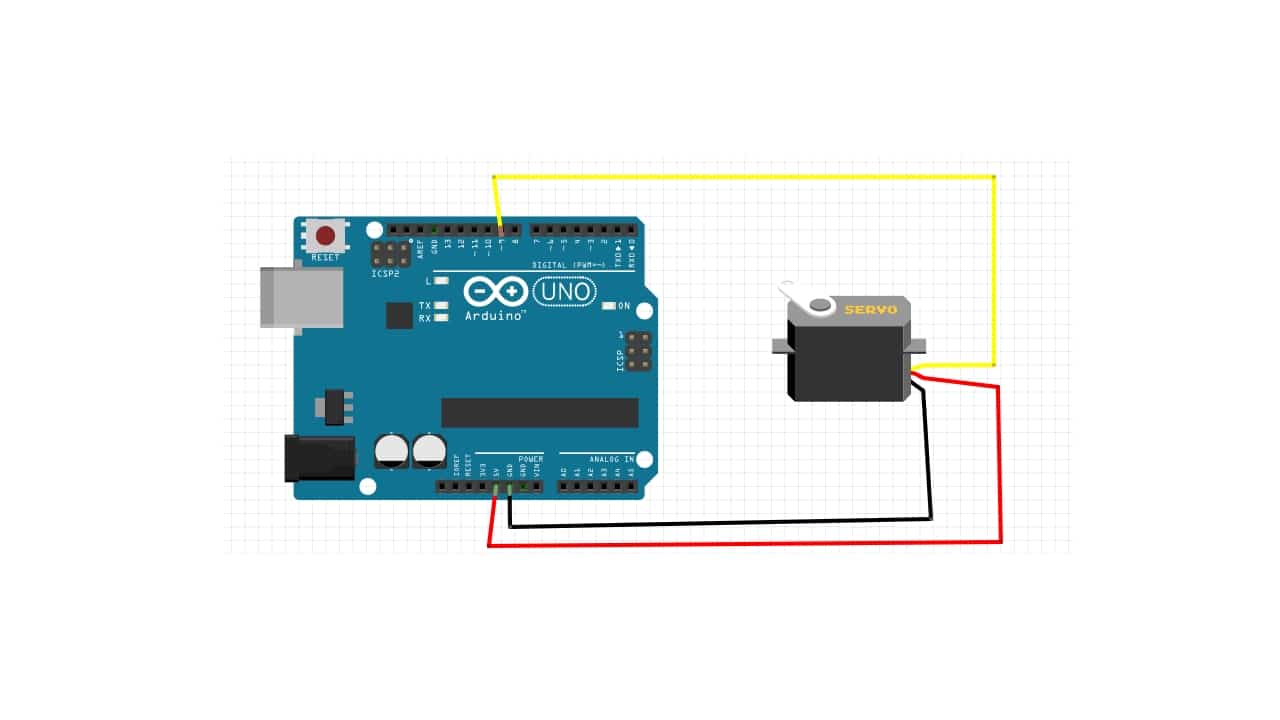
As you can see in the image above, the servo connects very easily to Arduino. It only has three cables, which you can connect in this way:
- Red with 5V
- Black with GND
- Yellow with an Arduino PWM pin, in this case with -9.
In order to program a sketch to start using these types of engines, you have several options. But, first of all, to start, you have to add Arduino IDE library to drive this type of servo motors:
- Open Arduino IDE.
- Go to Program.
- Then Include Library.
- Servo
As to sketch codeIt could be that simple in which the servo will go through its positions, stopping at 0º, 90º and 180º:
//Incluir la biblioteca del servo
#include <Servo.h>

//Declarar la variable para el servo
Servo servoMotor;

void setup() {
  // Iniciar el monitor serie
  Serial.begin(9600);

  // Iniciar el servo para que use el pin 9 al que conectamos
  servoMotor.attach(9);
}

void loop() {

  // Desplazar a la posición 0º
  servoMotor.write(0);
  // Esperar 1 segundo
  delay(1000);

  // Desplazar a la posición 90º
  servoMotor.write(90);
  // Esperar 1 segundo
  delay(1000);

  // Desplazamos a la posición 180º
  servoMotor.write(180);
  // Esperar 1 segundo
  delay(1000);
}
Now if you want move it from degree to degree, then it would be like this:
// Incluir la biblioteca servo
#include <Servo.h>

// Declarar la variable para el servo
Servo servoMotor;

void setup() {
  // Iniciar la velocidad de serie
  Serial.begin(9600);

  // Poner el servo en el pin 9
  servoMotor.attach(9);

  // Iniciar el servo en 0º
  servoMotor.write(0);
}

void loop() {

  // Los bucles serán positivos o negativos, en función el sentido del giro
  // Positivo
  for (int i = 0; i <= 180; i++)
  {
    // Desplazar ángulo correspondiente
    servoMotor.write(i);
    // Pausa de 25 ms
    delay(25);
  }

  // Negativo
  for (int i = 179; i > 0; i--)
  {
    // Desplazar el ángulo correspondiente
    servoMotor.write(i);
    // Pausa e 25 ms
    delay(25);
  }
}