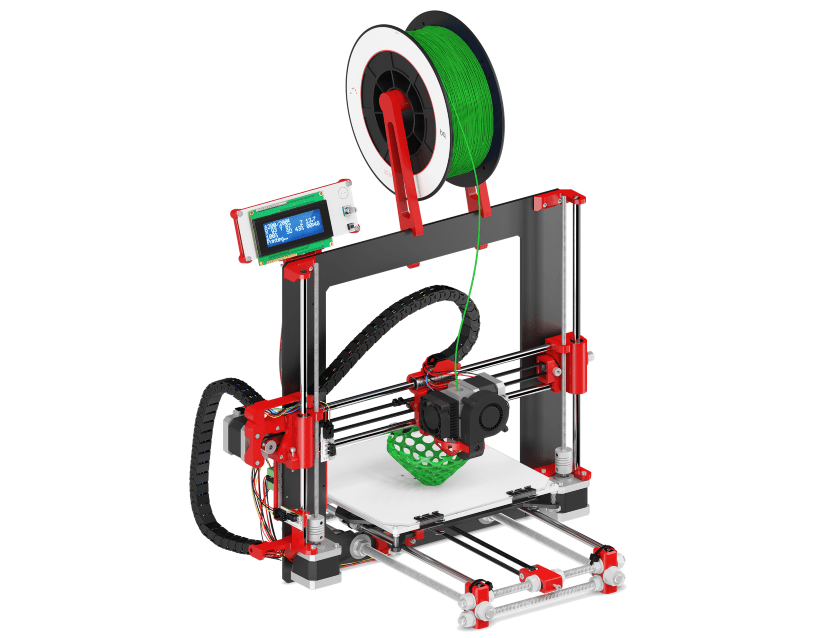
In this article we will explain what has been our experience mounting the 3D printer in KIT BQ HEPHESTOS. This printer presented by the manufacturer at the end of 2016 is a revision of the model it released in 2014. Although it continues to be inspired by a model from the RepRap community includes electronics manufactured and designed by BQ and the design of all included parts has been revised to improve stability and precision in printing.
After watching several seasons of McGyver to motivate ourselves, we have dared to assemble a printer in KIT and we are going to explain with hairs, signs and a video-summary of the assembly how the experience is
Comparison of similar products

Despite the fact that since the beginning of its commercialization, many improvements have appeared in the market that the BQ model does not incorporate, a recent reduction in RRP puts this team back in the spotlight. If we increase our budget we can acquire a model that includes a heated bed and we have also analyzed in this blog or we can purchase the upgrade "heated bed" that BQ markets on its website.
Unboxing and assembly of the 3D printer in KIT BQ Hephestos
Unlike other articles in which we have reviewed printers. Before starting to review the technical characteristics of the equipment, we are going to focus on explaining how the experience of assembling the printer has been.
BQ wants to revolutionize KIT printers like Ikea revolutionized furniture
The printer comes packed in a compact and easy to transport package from any business. It is a team that we can find very easily in shopping malls and electronics stores, we will be able to acquire it almost anywhere in our country without having to go to a specialized store that may be more difficult to locate. It is also a model marketed online by very popular and well-known websites.
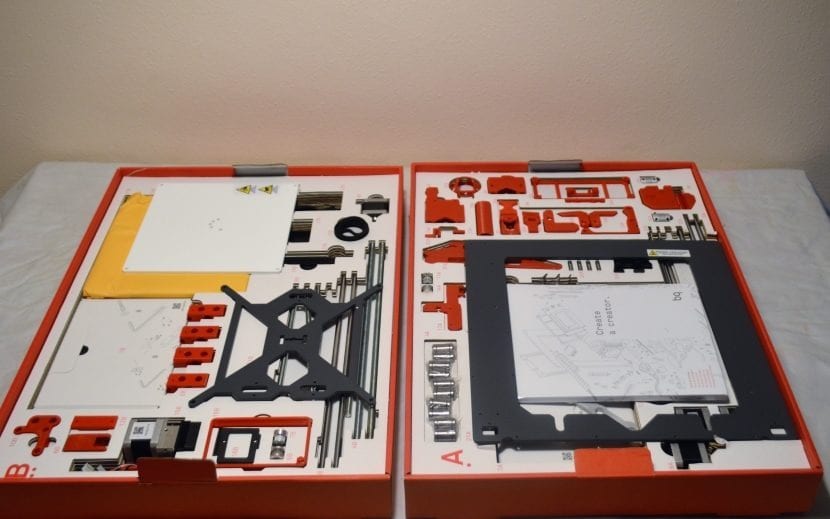
When we open the box we find almost a Hundred pieces organized on 2 floors. The sight of so much perfectly ordered piece is a bit intimidating, but we quickly located the manual and we see that in each step it is perfectly detailed which pieces to use and that these are perfectly numbered so that there is no confusion. It remind us (saving the distances) to the manuals to assemble furniture of Ikea.
The second scare is when we open the box that contains all the hardware, the amount of nuts and bolts that we will end up using is overwhelming. With manual a template is included with all the nuts and bolts in real size so they can be quickly identified. In this sense, it would be very useful if the bags in which each type are separated were labeled.
Well, let's get to work, here is the link to the video so that you can get an idea of what it costs a clumsy like me to assemble a kit like this:
In the assembly we have encountered some minor problems that we have been able to solve on the fly. We detail them below:
- Some of the printed parts do not fit millimeter in rods and the like and we have to do some force. This runs the risk of these printed parts breaking.
- Many starter pieces have holes in which you have to fit nuts using a soldering iron. Of this detail we have not found any reference in the manufacturer's manual. But if we can see named in the videos that the manufacturer has on the portal DIWO
- The kit includes all the Allen keys necessary for assembly and a spanner. When they are stubbornly squeezed together we will need 2 wrenches.
- The nuts connecting the horizontal and vertical mounting cannot be tightened with the wrench included in the box. We need a bigger one.
- El display wiring to the electronic board is explained in a confusing way in the manual. We had to connect it exactly the opposite of how it seems to us that it indicates in the manual. It would be wise to use a connector that only allows it to be used in the right direction.
- The HotEnd protector is impractical and annoying when using the printer, we have ended up removing it.
- El vertical frame is painted metal in a grayish tone. In some corner you can chip the paint without affecting the prints in any way.
Time spent for assembly
We have used 3 sessions of approximately 2 and a half hours. We have gone slowly, checking each step and checking that the recording of the process does not stop. In general terms the editing it seemed to us simple but long. The manual is very well explained, and the manufacturer also has on its website a collection of videos that detail the entire process.
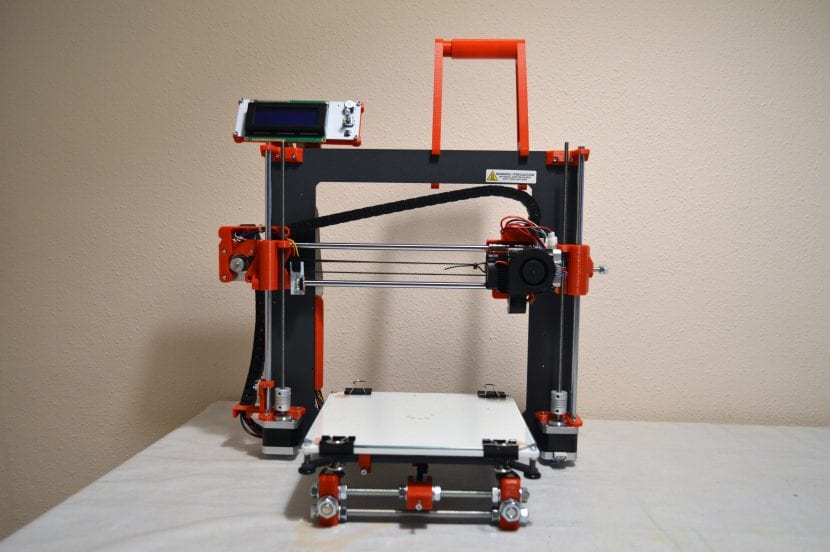
At the design level, the set seems like a good team, except for the end of the race.. Once we have the equipment fully assembled, they are not immobilized and we will have to be careful that when handling the equipment they do not move us.
Level the build platform
The print base is leveled at four points by four screws, it is recommended to level it a couple of times in a row before starting to print.
El BQ does not sell a kit update of self-levelingHowever, in the forums they have helped several users to modify the firmware to make use of the necessary elements to implement this function.
Technical aspects and specifications of the 3D printer in KIT BQ Hephestos
The printer is a model with good performance and that has known how to age correctly. Has a resolution of 60 micron Z layer similar to many of today's printers and sufficient for most of the print jobs we can do. By including a metal frame its weight is somewhat higher than other similar printers, anyway 13 Kg It is not an excessive weight and will allow us to move it comfortably if we need it.
El 215x200x180 print area It is suitable for most prints, although if we need it we can acquire a broader base.
La print speed is 100mm / s somewhat slow compared to the speeds of more modern printers.
The extruder used in this printer will allow us to use filament PLA and the like such as wood or metallic filaments. It also responds well with flexible filaments but we cannot use filaments with high fusing temperatures or poor adhesion, since the printer does not include heated bed. Both the heated bed and the extruder of the new BQ Hephestos 2 printer are accessories that we can buy separately.
Other technical aspects
El extrusion cart has a compact appearance even though all the wiring connectors are large and located in the same place. The X axis belts are firmly attached and have not loosened at any time.
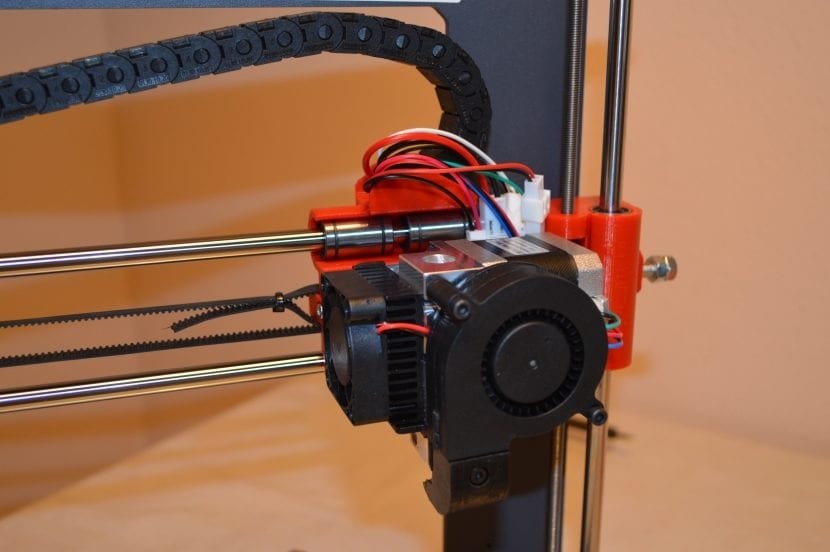
As in other printers that we have previously analyzed we miss an ON / OFF switch. As a temporary solution we can always disconnect the cable from the external power supply as it has a very solid construction.
This is a printer that can work autonomously by printing from the SD or connected to a PC via a USB cable. In both cases it performs its function perfectly. If we want a team with wifi connectivity we can always make a small extra investment and install a server Octoprint on a Raspberry Pi 3 (model that includes wifi as standard). We have tested it and it works perfectly.
To laminate the objects we have used CURA, a program that we are very fans of and it is fully compatible with this printer. Then we just have to save the GCODE files with our designs on the SD card that we insert into the printer. The Kit does not include any SD card
The SD card reader is integrated with the display and located on the top of the printer making it easy to connect and disconnect cards. The display has very good brightness but we were surprised that the control wheel did not come with a plastic trim.
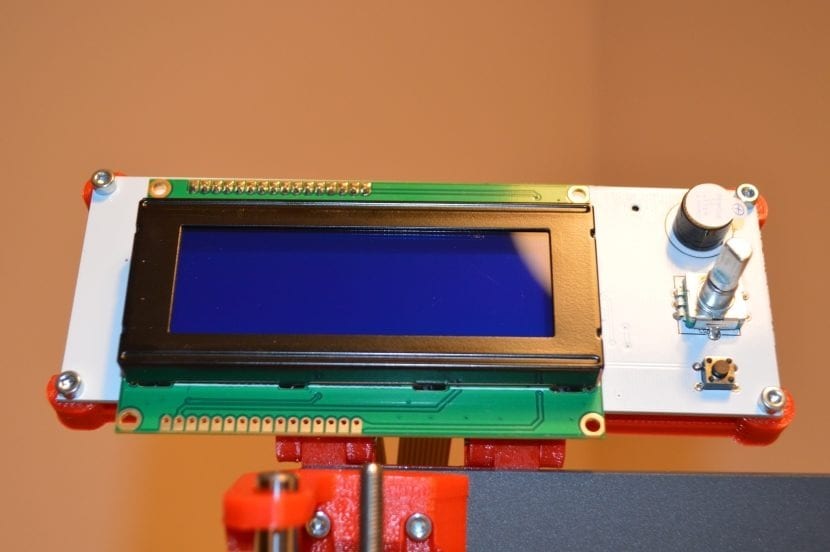
Day by day with 3D printer in KIT BQ Hephestos
The printer display shows us information on the status of the prints, as on previous occasions we miss seeing the remaining time to finish the work in progress. It is not a particularly noisy printer, so we can work in the same room as the equipment without putting our mental health at risk.
The prints have a good finish and good reliability is maintained and low error rate piece after piece.
After printing more than thirty pieces we have reviewed all the nuts and unions without finding nothing that has become loose or deteriorated with the intense use to which we have subjected the equipment.
A loved team with the Maker community
Undoubtedly one of the aspects that have most impressed us about this team is the immense amount of information, modifications and aids that we could find Internet with the intention of improving this printer.
This is a very important aspect if we want our printer to evolve to improve its performance. From self-leveling sensors to improvements to mounting parts to give the assembly more stability. Wherever it occurs to us to look, we will find information about the printer; Thingiverse , in the official forums , riding a Youtube …. No matter where we look, we will always find many users with this equipment. Thanks to the popularity of this printer we will be very feasy to find different modifications tested by a large number of Makers.
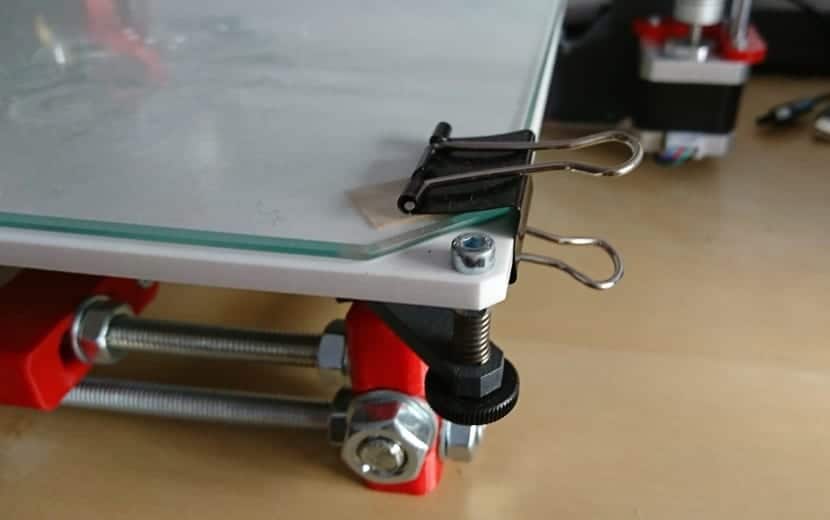

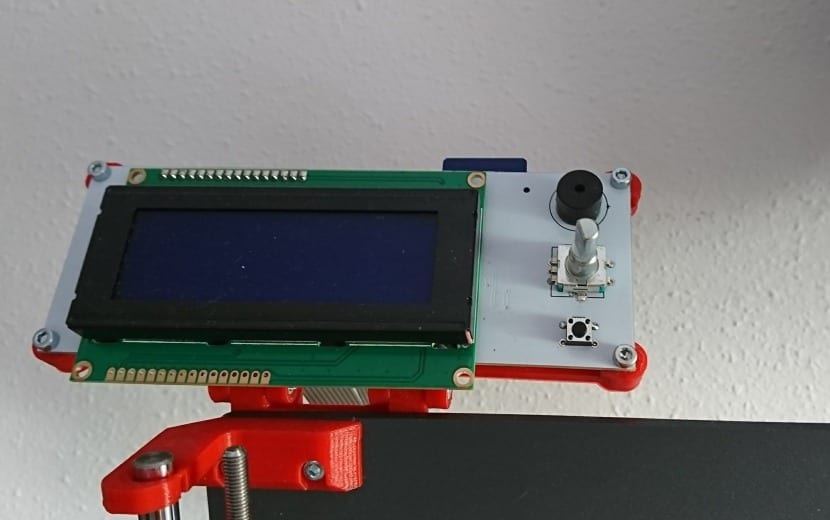
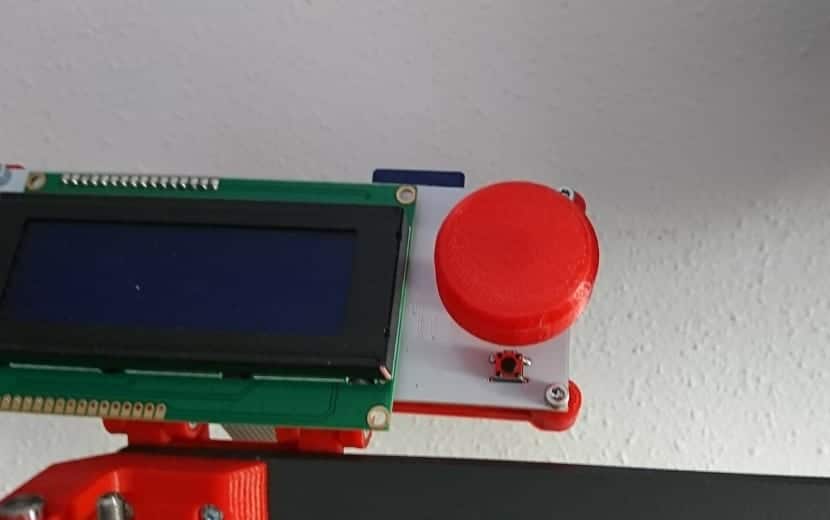

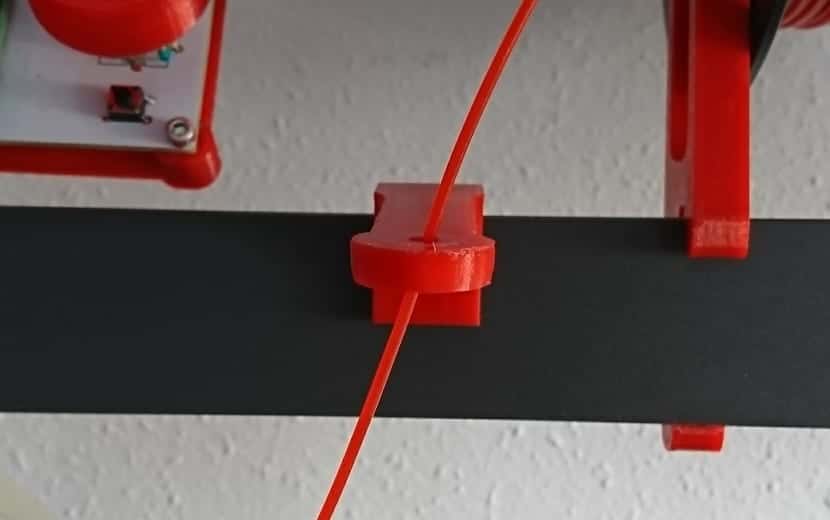

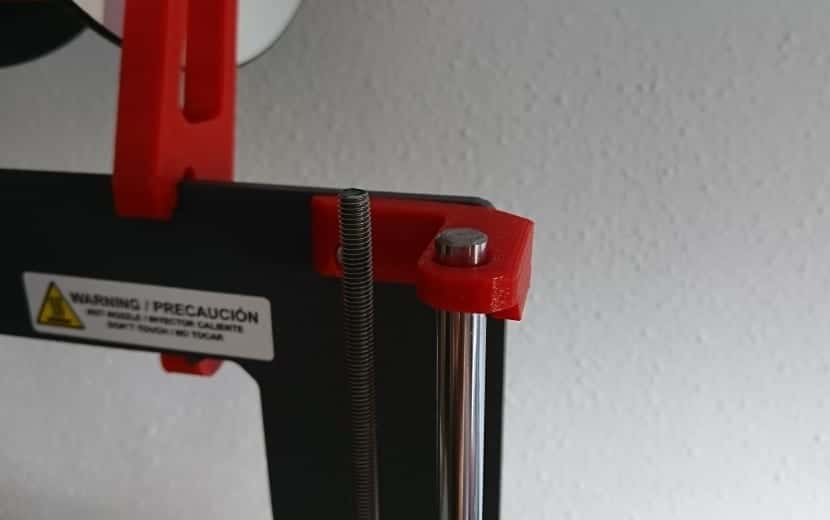
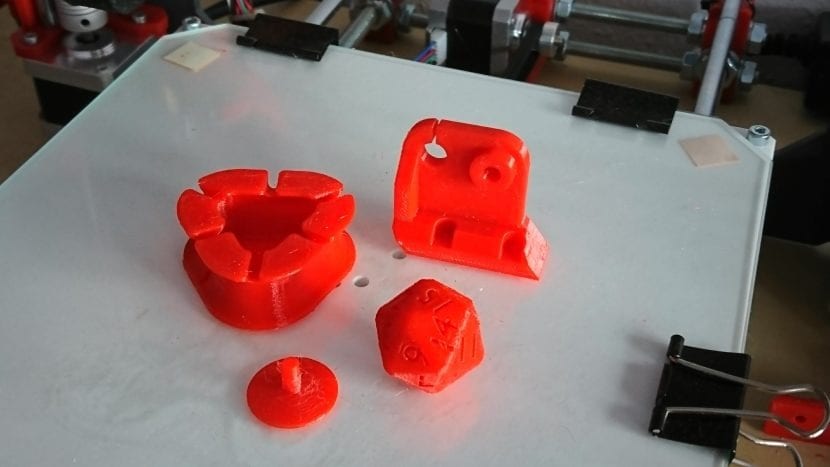
We have printed and assembled several modifications in PLA that have allowed us to easily improve the appearance of the equipment. We have exchanged the office clips for some parts designed specifically to hold the glass on which we print, we have added a guide for filament, we have incorporated a button at the control of the display and we have improved the supports of the rods in charge of the movement along the Z axis.
We also plan to print a box to beautify the display and add a support for a webcam. At Octoprint we can add a stream with some specific webcam models and monitor our impressions whether we are next to the printer or many kilometers away.
Conclusion
While it is true that the simplicity of the model is revealed when reviewing some of the technical characteristics, the 3D printer in KIT BQ Hephestos is a excellent option to introduce ourselves to the world of 3D printing. On the one hand we have a team with a very content price that will allow us to start printing without too large an investment. On the other hand, having been a printer 3D so popular Any problem we have with the printer can be found resolved in one forum or another. In addition, the team has a couple of expansion options that will allow us to evolve and improve in the medium term. We want BQ to develop a new ampiation KIT that includes the possibility of self-leveling. This would be an easy way to improve and enrich the user experience
Price and distribution
It is a very popular equipment that we can find practically in any shopping center. After a recent review of the RRP we can get this printer for a amount of € 499
Editor's opinion

- Editor's rating
- 3.5 star rating
- Very good
- BQ HEPHESTOS
- Review of: Tony of Fruits
- Posted on:
- Last modification:
- Integrated
- Durability
- Finishes
- Price quality
Pros
- Team with great support from the maker community
- Little noisy
- economic
- Easy to find equipment in stores
- Compatible with Octoprint
Cons
- Nuts must be embedded in the parts with a soldering iron
- Does not include heated bed
- Does not include self-leveling