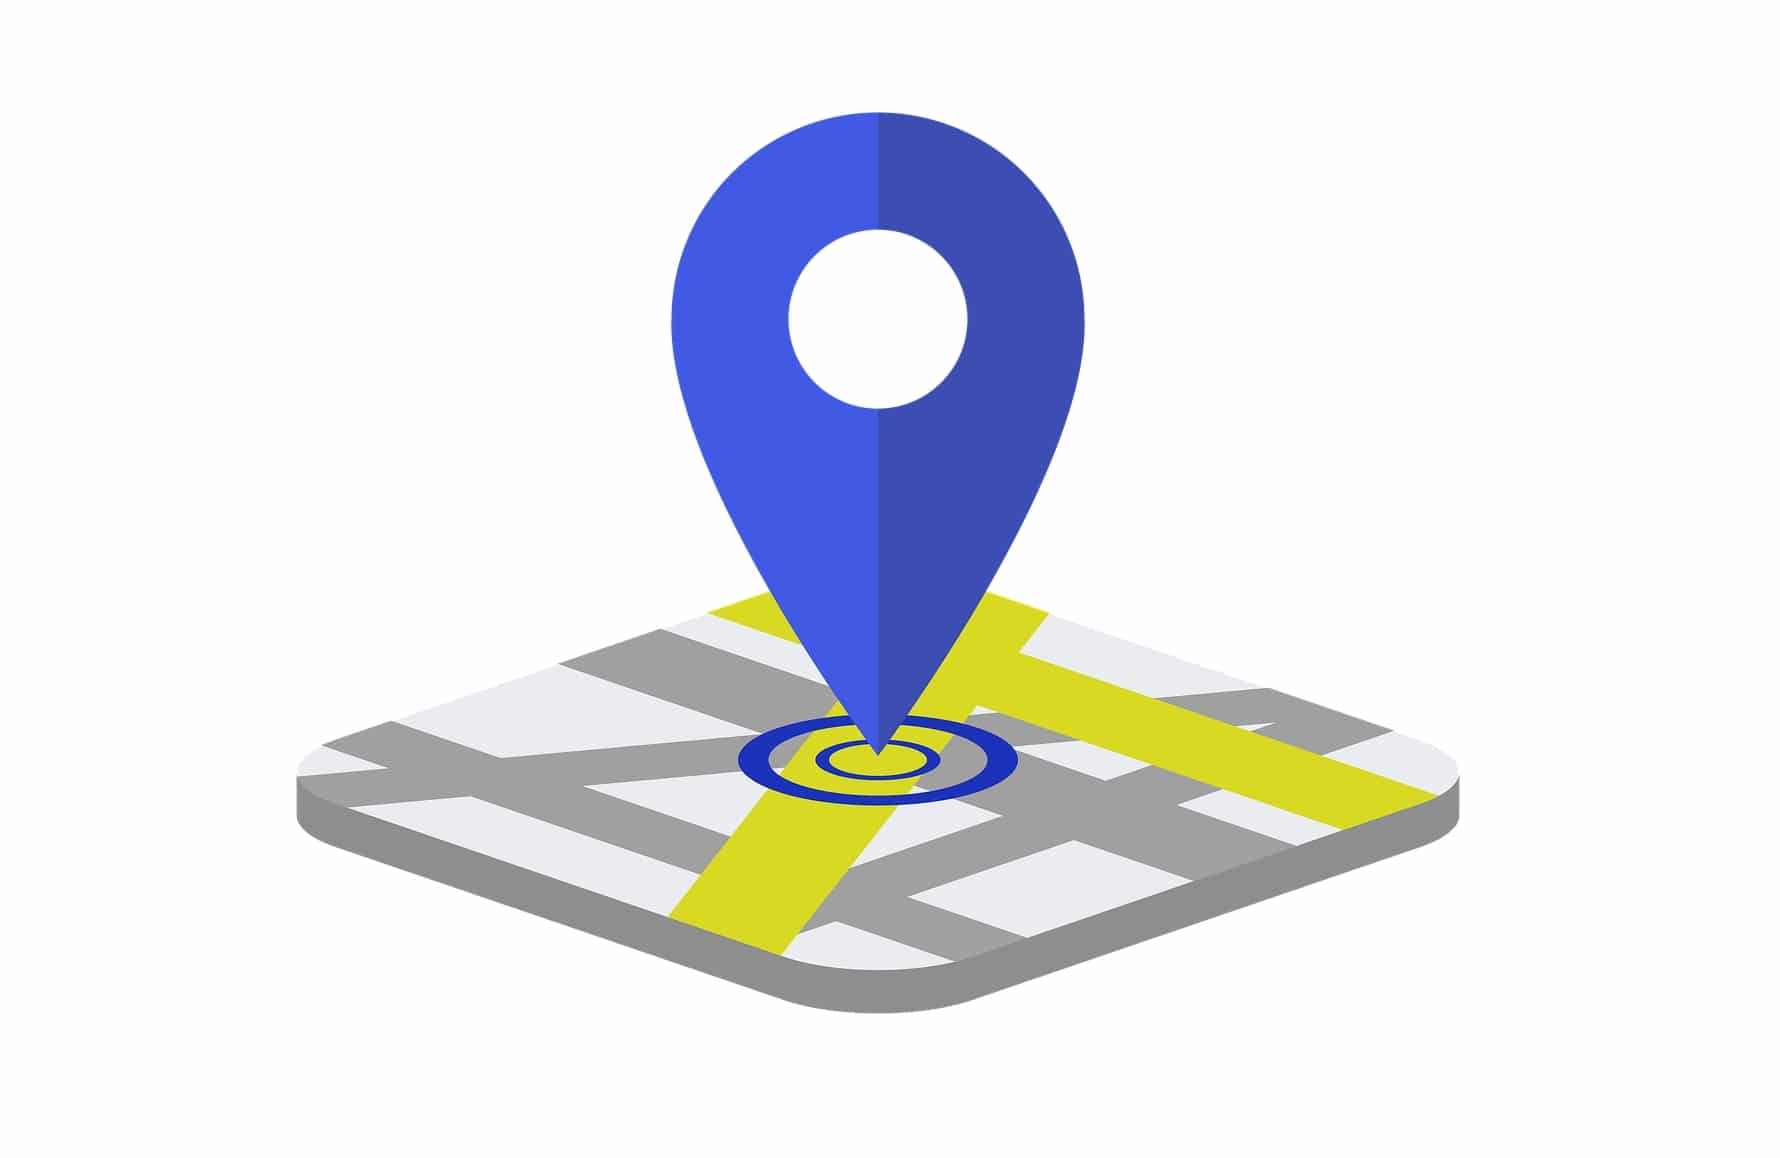
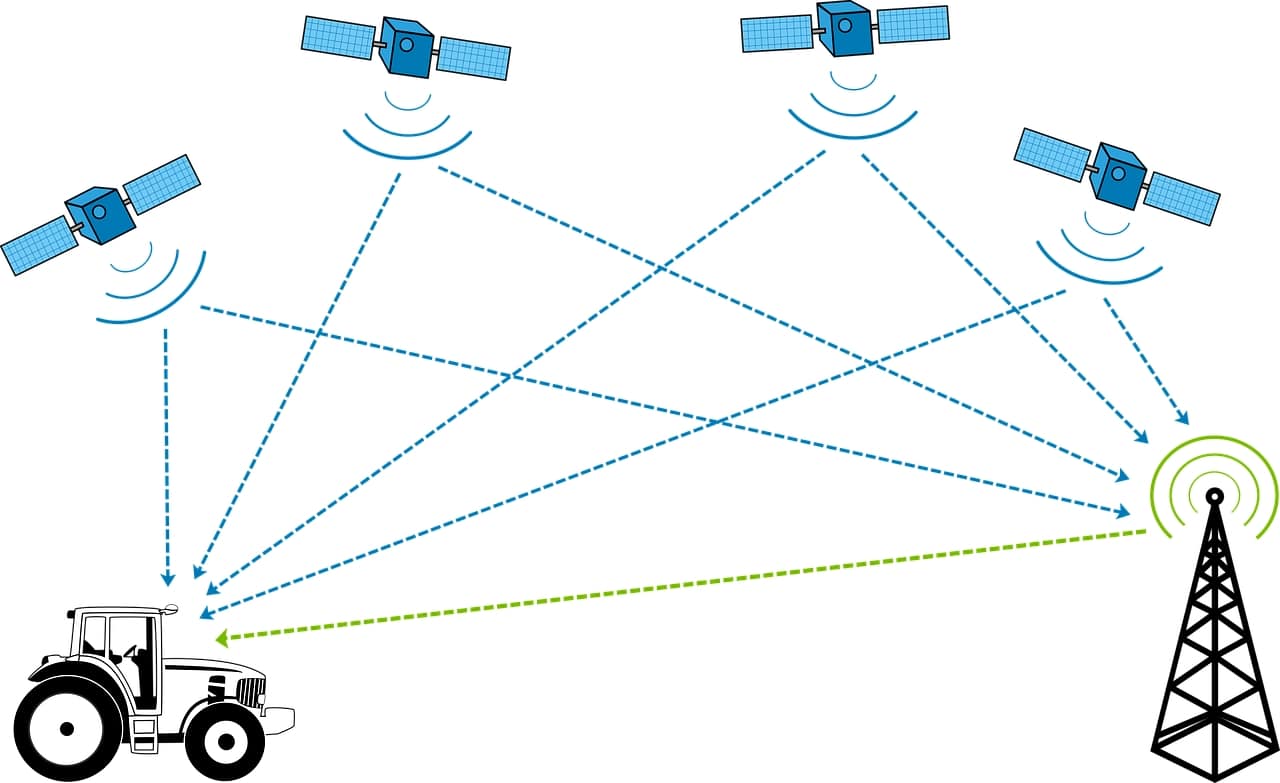
With the development board Arduino can carry out a multitude of projects, the limit is often the imagination. With the electronic components and modules, functionalities can be added so that you can do more things. One of these functionalities may be the ability to locate objects or people, or locate by positioning with Arduino GPS.
This type of positioning and tracing it can be done using RFID or receivers like the one we are going to discuss in this article. With this you will be able to create a multitude of projects, from games with which to create a detector and locate objects, to locate stolen objects, to be able to locate yourself using a GPS, etc.
Arduino NEO-7 GPS Module
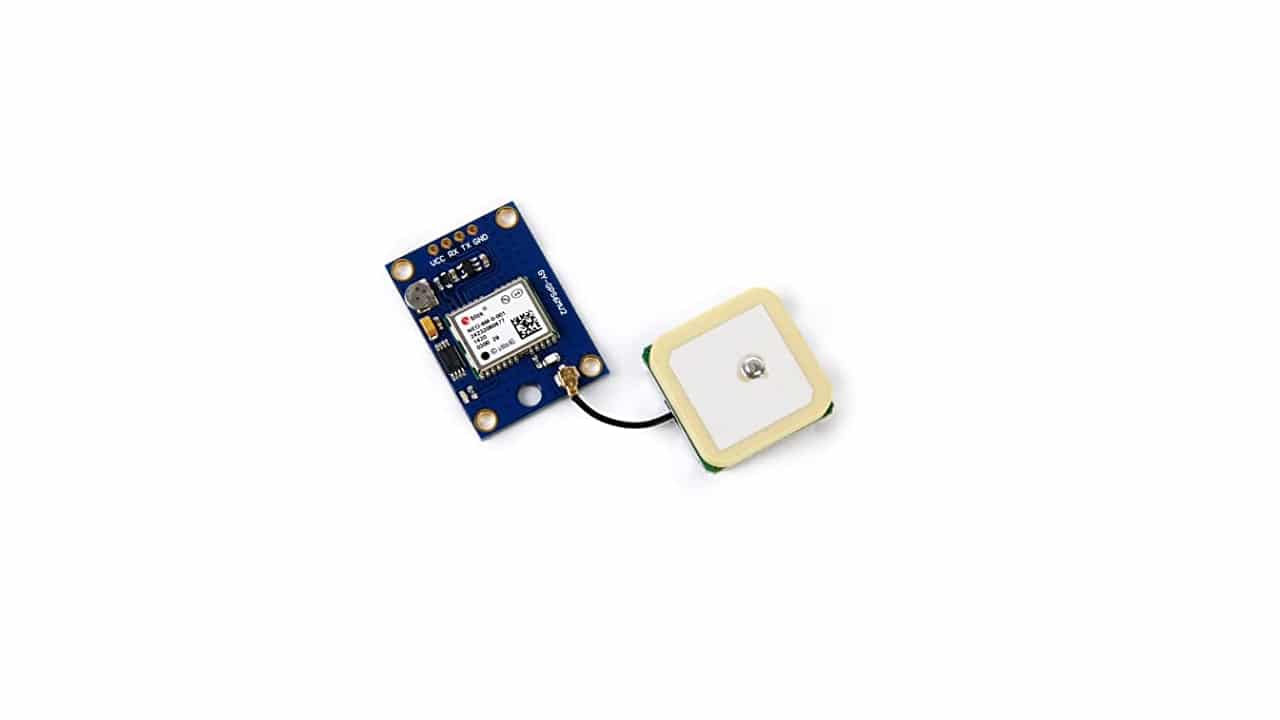
To have Arduino GPS, you can use the NEO-6 devices, a family manufactured by U-Blox and that can be connected to the Arduino board in a simple way. In addition, they have a complete communication interface, with UART, SPI, I2C, and USB, in addition to supporting NMEA, UBX binary and RTCM protocols.
In addition, this Arduino GPS with NEO-6 also allows you to minimize the size of your project, since it has a little size, as well as a low cost. In terms of consumption, it is also small. When in active mode, it will only need 37mA. It is powered by 2.7 to 3.6V for the NEO-6Q and NEO-6M models, while there are others of lower voltage called NEO-6G that only need between 1.75 and 2v.
Other interesting parameters of this module are:
- The 30 seconds of ignition time cold, and only 1 second for hot start.
- La maximum measurement frequency they work at only 5Hz.
- Position accuracy of 2.5 meters of variation.
- Speed accuracy 0.1 m / s.
- Orientation variation of only 0.5º.
Where to buy a NEO-6 for Arduino GPS
You can find these devices and modules in many specialized electronics stores, or also on Amazon. For example, here you can buy it at a very cheap price:
Example with Arduino
The first thing you must do to connect it to your development board and have your Arduino GPS is to connect your NEO-6 module to the board. The connections are made very simply (NEO-6 module connections - Arduino connections):
- GND - GND
- TX - RX (D4)
- RX - TX (D3)
- Vcc - 5V
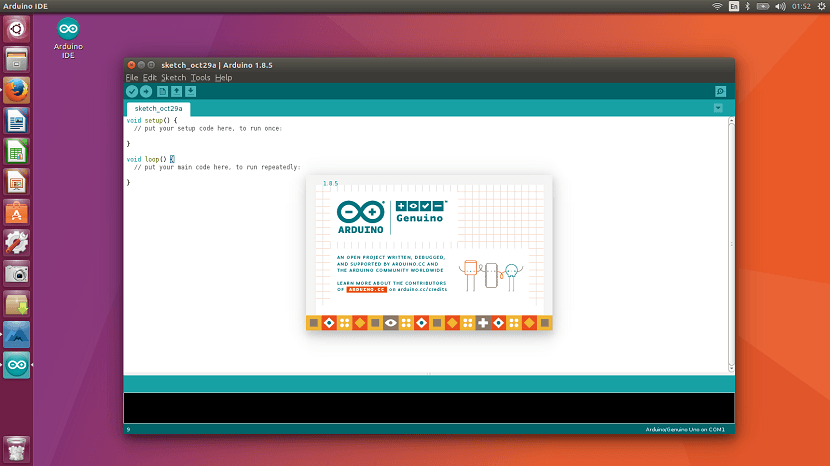
Once you have it connected, you will also have to download the SoftSerial library in your Arduino IDE, as it will be needed for serial communication. It is likely that you already have it from other projects, but if not, you will have to download and install in your IDE.
Once that is done, you can start with your simple code to do the reads. For example, since several protocols can be used, here is the sketch for NMEA:
#include <SoftwareSerial.h>

const int RX = 4;
const int TX = 3;

SoftwareSerial gps(RX, TX);

void setup()
{
   Serial.begin(115200);
   gps.begin(9600);
}

void loop()
{
   if (gps.available())
   {
      char data;
      data = gps.read();
      Serial.print(data);
   }
}
Of course, you can make your modifications or use other protocols if you wish ... You can also make use of the examples available in your IDE for this library. But, before ending the article, you should know that the NMEA format (National Marine Electronics Asociation) is very particular, to understand it, you have to know its syntax:
$ GPRMC, hhmmss.ss, A, llll.ll, a, yyyyy.yy, a, vv, xx, ddmmyy, mm, a * hh
That is, $ GPRMC is followed by a series of parameters indicating location:
- hhmmss.ss: is the UTC time in hours, minutes and seconds.
- A: receiver status, where A = OK and V = alert.
- llll.ll, to: is the latitude, where a can be N or S, for north or south.
- yyyy.yy, a: is the length. Again a can be E or W, that is, east or west.
- etc: speed in knots.
- xx: is the course in degrees.
- ddmmyy: is the UTC date, in days, months and year.
- mm, a: is the magnetic variation in degrees, and the a can be E or W for east or west.
- *H H: Checksum or checksum.
For example, you could get something like this:
$GPRMC,115446,A,2116.75,N,10310.02,W,000.5,054.7,191194,020.3,E*68