There are several modules electronic sensors very interesting for your DIY projects, from those that can measure radiation, to some devices to measure air quality, and even gas detectors. In this article we are going to delve into a component that is used to measure air quality, and find out if the air in the environment around you is quite clean or has a high degree of contamination of any kind.
These types of elements are used by some air purification systems to know when they should be automatically activated to filter the air, or in many other applications to measure pollution in cities, etc. Here you can learn what this device is, how to use it, and how to integrate it with your arduino board.
Sensor to measure air quality and CO2
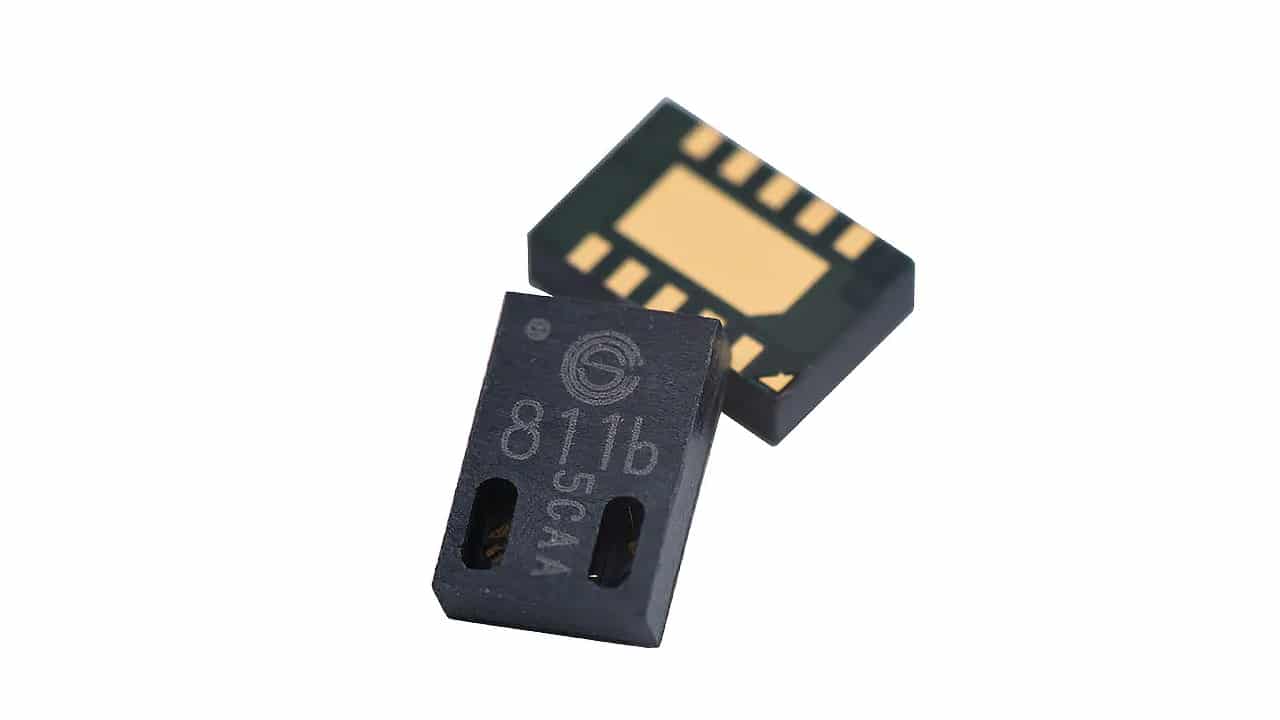
There are several types of gas detectors or sensors to measure air quality. One of the most affordable and popular is the CCS811, which can be built into modules for easy use with Arduino. Thanks to this device, it is possible to measure the quality of indoor air, and to know if it is of good quality or if it is too contaminated with carbon dioxide or CO2, carbon monoxide or CO, as well as volatile compounds or VOCs such as ethanol, amines, or aromatic hydrocarbons.
All thanks to a little multi-gas device. The measurement range for particles can be from 400 to 8192 ppm (parts per million for CO2, or 0 to 1187 ppb (parts per billion) for VOC compounds. However, you should know the details of the specific model of sensor that you have purchased using the datasheet provided by the manufacturer.
As with other chemical sensors, preheating is required in this case. In other words, it should be put into operation at least 20 minutes (or up to 48 hours if the location is changed) before so that the readings are real and that Measurements stabilize. Otherwise, the first measurements could be quite wrong.
The modules not only include the CCS811, they also integrate an ADC converter, an internal processor to perform the calculations and the communication elements to transmit through the I2C bus and that boards such as Arduino can interpret them or perform some operations when obtaining certain values.
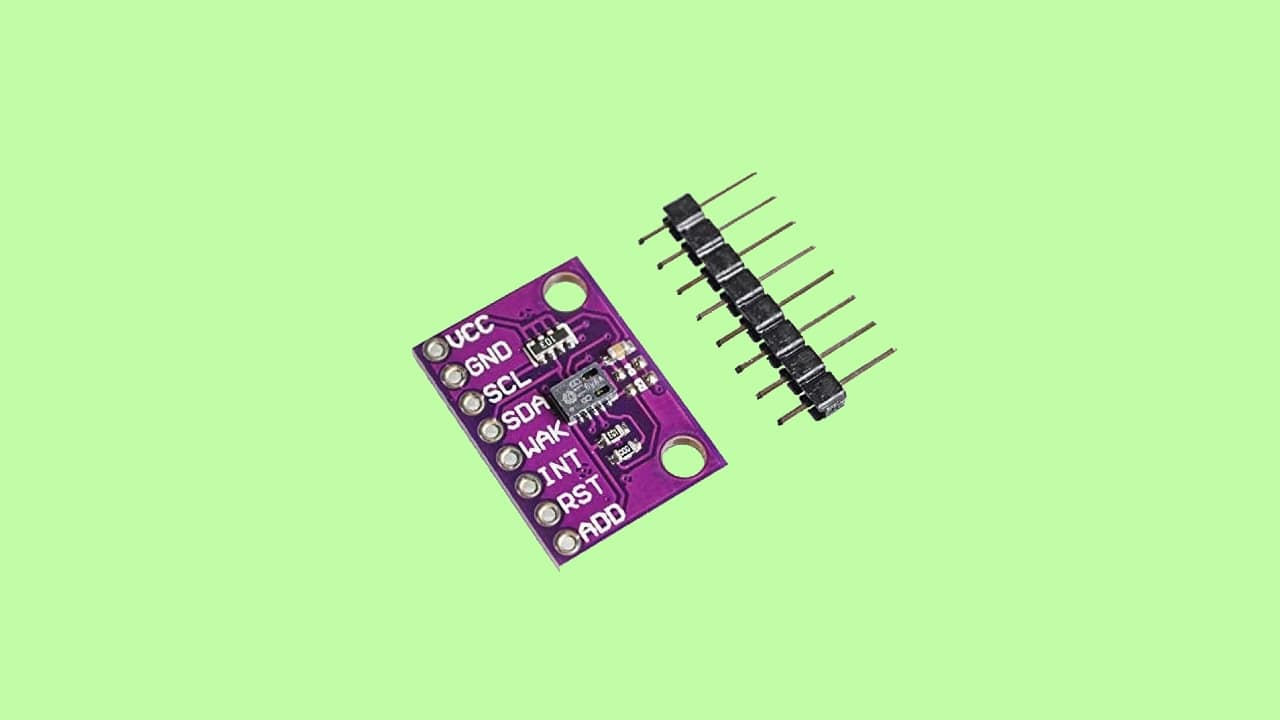
It is also important to know the pinout of this module, in addition to the supply voltage that ranges from 1.8 to 3.3v, although some modules can implement an adapter so that you can connect them to the 5V output of the Arduino. In addition, it is also convenient for you to know that you have 5 measurement modes:
- continuous measurement
- Measurement every 0.250 seconds
- Measurement every 1 second
- Measurement every 10 seconds
- Measurement every 60 seconds
You can adapt it according to your needs. Keep in mind that the continuous measurement mode is the one that consumes the most, while the lower frequency modes consume less, with the 60s being the one that saves the most. So if it's going to be used on battery power, you'll probably need to set modes to 10 or 60 so it doesn't run out as quickly.
As for the the pins:
- VDC: supply
- GND: ground
- I2C: communication
- SCL
- SDA
- WAK (WakeUp): to wake up the module when connected to GND
- RST: reset if connect to GND
- INT: used in some modes to detect if the sensor makes a new detection or exceeds certain thresholds
Where to buy
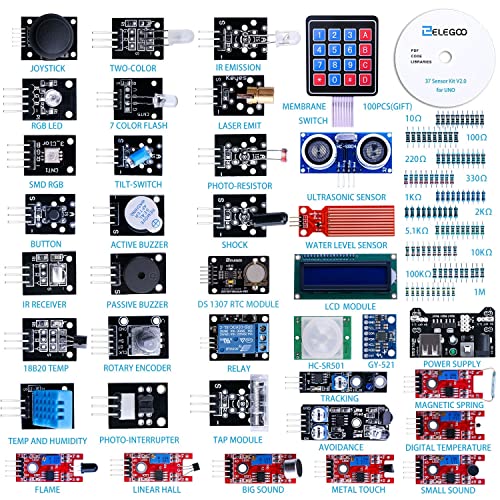
If you want to get a module for measuring air quality compatible with Arduino and that is cheap, you can find it in some stores dedicated to electronics or on large platforms such as Amazon. Here are some purchase recommendations:


How to integrate the sensor to measure air quality with Arduino
Now for integrate the module to measure air quality with your board Arduino UNO and start experimenting with it, you can start by connecting it like this:
- VCC can be connected to 5V of Arduino. *If it accepts that voltage, if it needs a lower voltage, you should use the correct one so as not to damage it. If not, you can use the Arduino 3v3.
- GND goes to GND.
- SCL is an analog input connection, for example A5.
- SDA will go to another analog input connection, such as A4.
- WAK in this example would go to GND as well.
- The others are not necessary for this example.
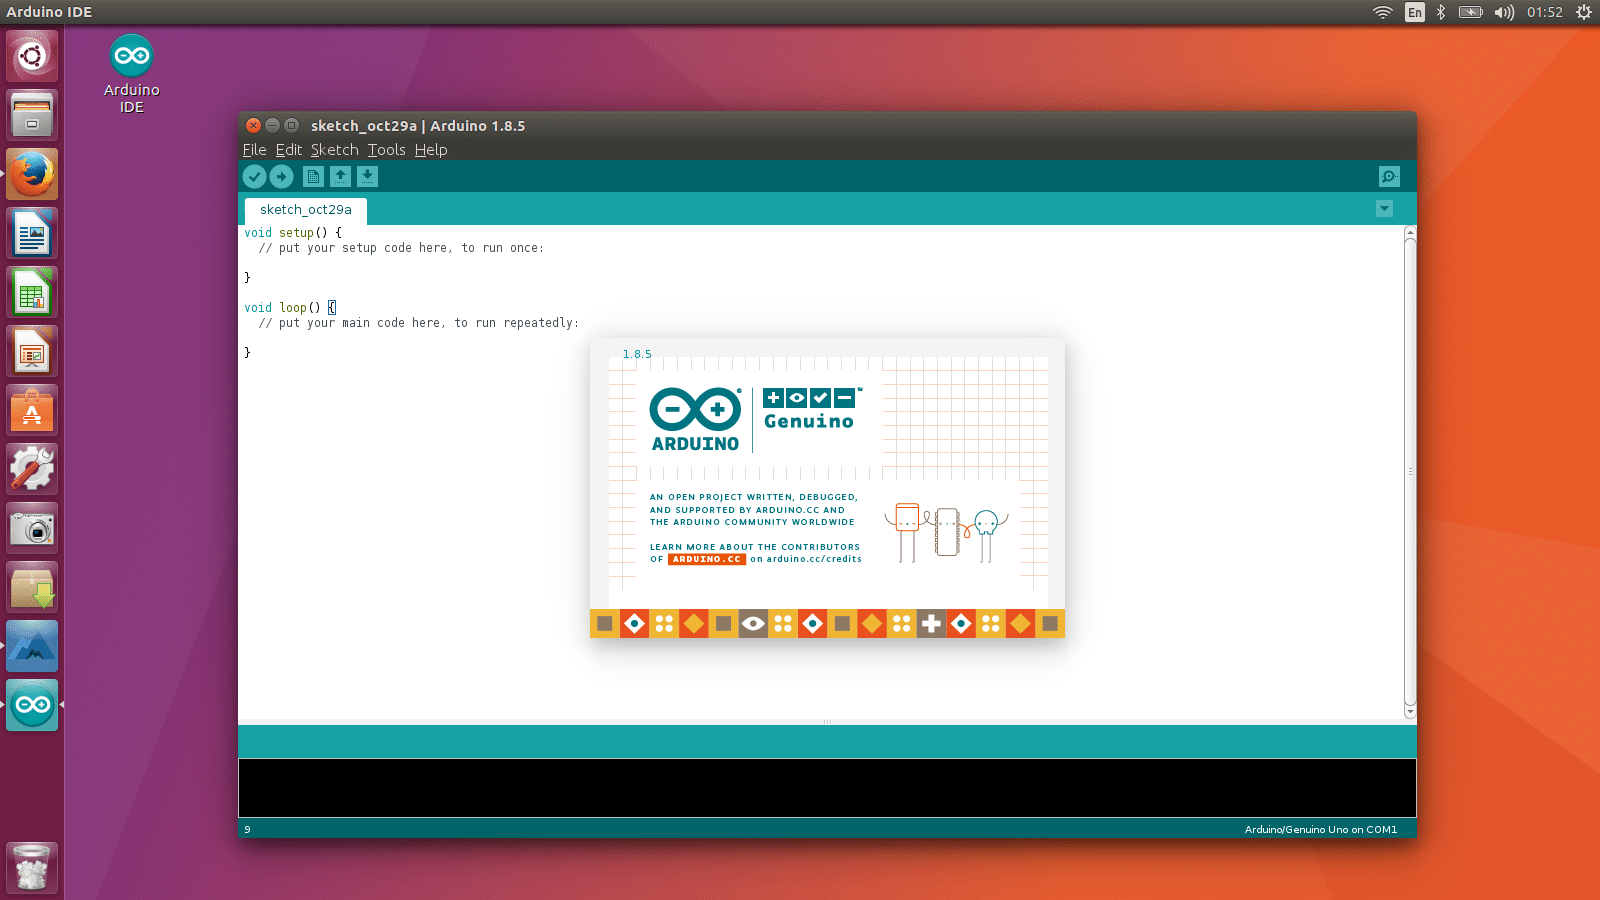
As to code for Arduino IDE, you can use a CCS811 library developed by Adafruit that you can download and install from here in your Arduino IDE, and with the following code you can make the first reading with the sensor to measure the air quality:
#include "Adafruit_CCS811.h"

Adafruit_CCS811 ccs;

void setup() {
  Serial.begin(9600);

  Serial.println("CCS811 test");

  if(!ccs.begin()){
    Serial.println("¡Fallo al iniciar el sensor! Por favor, revisa las conexiones.");
    while(1);
  }

  //Espera a que el sensor esté listo.
  while(!ccs.available());
}

void loop() {
  if(ccs.available()){
    if(!ccs.readData()){
     Serial.println(ccs.calculateTemperature(););
     Serial.print("ºC, CO2: ");
      Serial.print(ccs.geteCO2());
      Serial.print("ppm, TVOC: ");
      Serial.println(ccs.getTVOC());
   }
    else{
      Serial.println("¡ERROR!");
      while(1);
    }
  }
  delay(500);
}