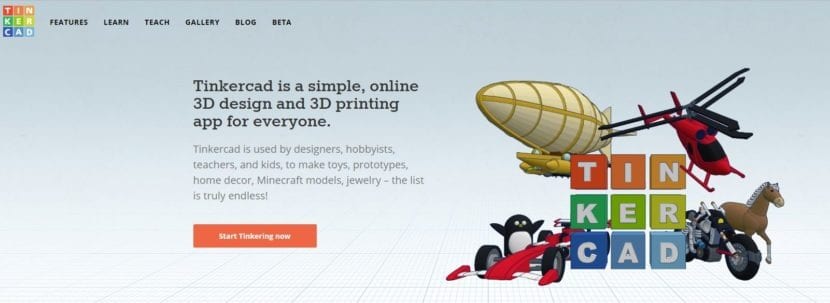
In this article we will teach you how to use Tinkercad, possibly the simplest software that exists to design in 3D.
Tinkercad is a web platform integrated into the Autodesk product catalog. By doing everything online, it is not necessary that we install absolutely nothing on our PC. We will also have a cloud backup of our designs. They are all advantages.
It's great that you spend the day looking at objects modeled by the community. But it's time for you to take action and make your own designs. Don't worry, in HardwareLibre We know that it can be scary to consider which program, out of the hundreds, to choose to start with. That's why, Continuing with our series of articles on learn to use it, we have decided to show you this platform.
First steps
The first thing you have to do is register on the web. In the profile you will see that among other things you have the option of connect Tinkercad with your Thingiverse profile. This is the moment in which, if you have not done it already, you read our article Thingiverse. Learn to use it.
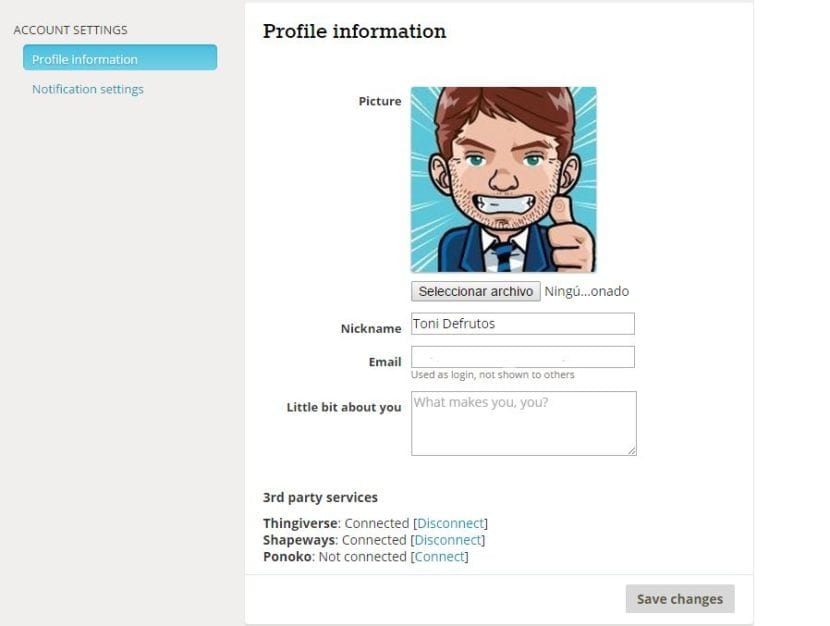
Once you have dashboard access You can start making new designs and modify the ones we already have made. You can also upload and download SLT files
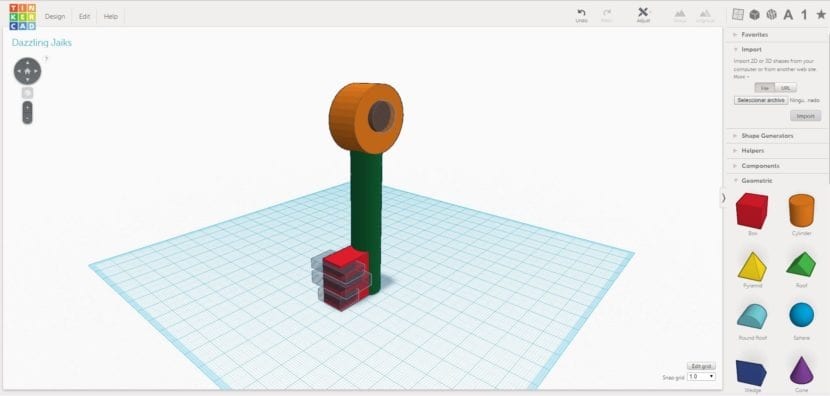
First Design
For start with a design you have to drag geometric shapes from the right panel to the center grid.
Clicking with the right button and dragging the mouse we can change angle with which we see the dashboards.
Using the mouse wheel we control the zoom.
If we click on a shape and drag the mouse, we move it throughout the work area.
Selecting each shape, some white dots That allow us resize on all three axes.
Selecting each shape, some black arrows That allow us rotate objects in any plane
We can define its color for each object or define it as a hole
Selecting more than one shape and doing click on the "group" button the we merge on a single object.
If we add shapes with “hole” shapes, their areas are subtracted by defining themselves as a single object.
we also have the button "ungroup" that allows us undo merges previous forms.
And finally with the "adjust / align" button CAN align shapes before merging them
In the portal there are some more options, but with the ones I have explained you have enough to start. I just made a key like the old ones, which would look great printed with a size of a few centimeters and we could use it as a keychain
Download our design
Well now that we have our design just have to download it in stl format from the menu Design / download for 3D printing for use with our printer.