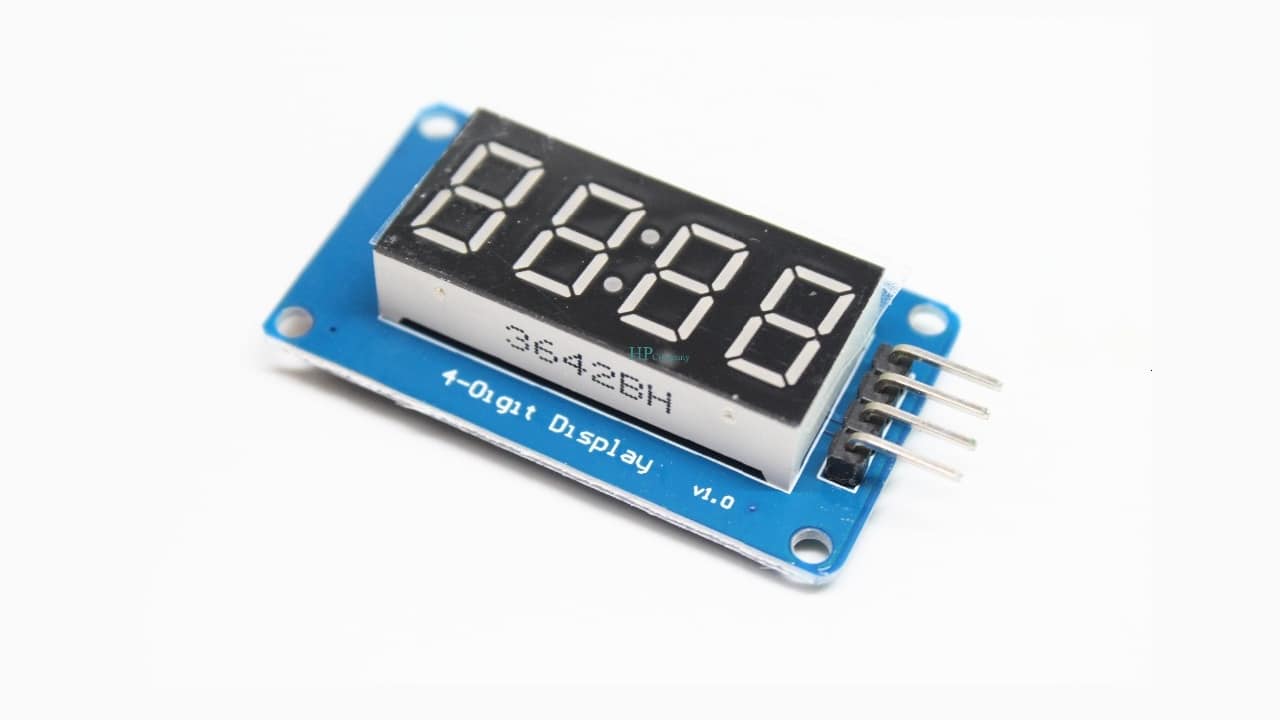
TM1637 is a 4-digit 7-segment display module that you can use in your electronic projects. A new electronic component we add to the long list that we have been presenting to you in this blog and that can be perfect especially for the Arduino development board. In addition, it is very easy to install and comes with everything you need integrated, you only have to worry about the source code of the sketch with which you will make it work in the IDE.
What is a TM1637?
Una TM1637 display It is a type of LED display that is commonly used in low-power applications such as digital clocks, alarm clocks, and kitchen timers. The TM1637 consists of one or more LEDs enclosed in a plastic case that functions as the display case. LEDs are typically sealed between two separate covers to prevent them from being exposed to contaminants. Some screens may have an additional protective cover to protect the LEDs from damage.
There are two main variants of the TM1637 displays:
- TM1637 single color displays: Single color displays only have one type of LED color per pixel. They can be used for simple tasks, such as displaying numbers or letters on a digital watch face.
- TM1637 multi-color displays: Multi-color displays have several different types of LEDs that allow for more complex tasks, such as displaying images with different colors and shapes. They can be used for more advanced applications such as viewing videos and animations.
Module connections
A module that works with only four connections, two for power, one for clock and one for data, greatly reduces the number of connections we would normally need to connect four 7-segment displays. Data is provided via serial communication, so only one pin is required for data input. The clock signal defines the time the data is sent.
Below are detailed the connections of the TM1637 module:
- Vcc – Connects to a positive reference current, which can be 3.3V or 5V on the Arduino board.
- GND – Negative reference or ground.
- DIO – Serial data input.
- CLK – Clock signal input.
Programming the TM1637 with Arduino
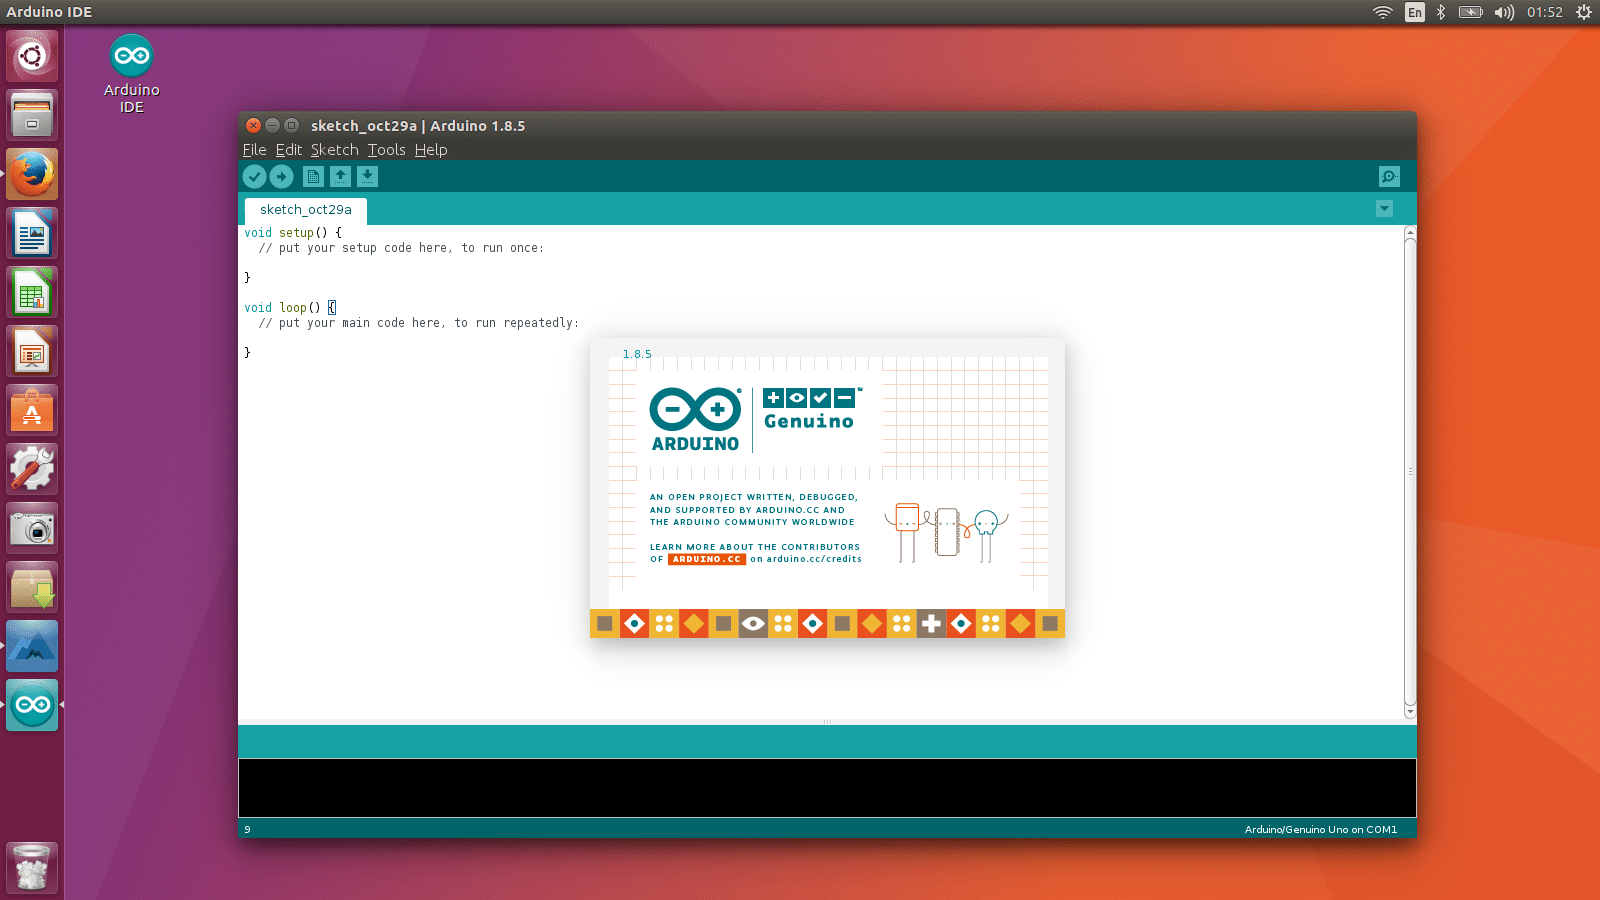
To send data to the module, we can program the Arduino MCU from the chip manufacturer's data sheet or use the Arduino library, which already provides us with the easiest way to connect to our screen. The easiest way to connect to our screen for Arduino, the manufacturer already provides us with a library to be able to send the data to our screen. Below is an example of how we connect and some of the most basic commands of library.
For that, the skit The example that we show you would be the following:
#include "TM1637.h" //Biblioteca necesaria
#define CLK A1    //Definición del pin A1 para el reloj y del A0 para datos
#define DIO A0

TM1637 Display1(CLK,DIO); //Crear una variable de tipo dato
int8_t Digits[] = {0,0,0,0}; //El valor inicial a mostrar

void setup()
   {
       Display1.set();  //Inicializar
       Display1.init() ;
   }

void loop()
{
//Contador de 0 a 1000
 for (int i=0 ; i < 1000 ; i++){
  Digits[0] = 0;
  Digits[1] = floor(i/100);
  Digits[2] = floor((i%100)/10);
  Digits[3] = floor(i%10);
  delay(1000);
  Display1.display(Digits); //Función para escribir en el Display
 }
}
You already know that you can modify the sketch as you please to adapt it to your project or particular needs. This is just an example of use.